
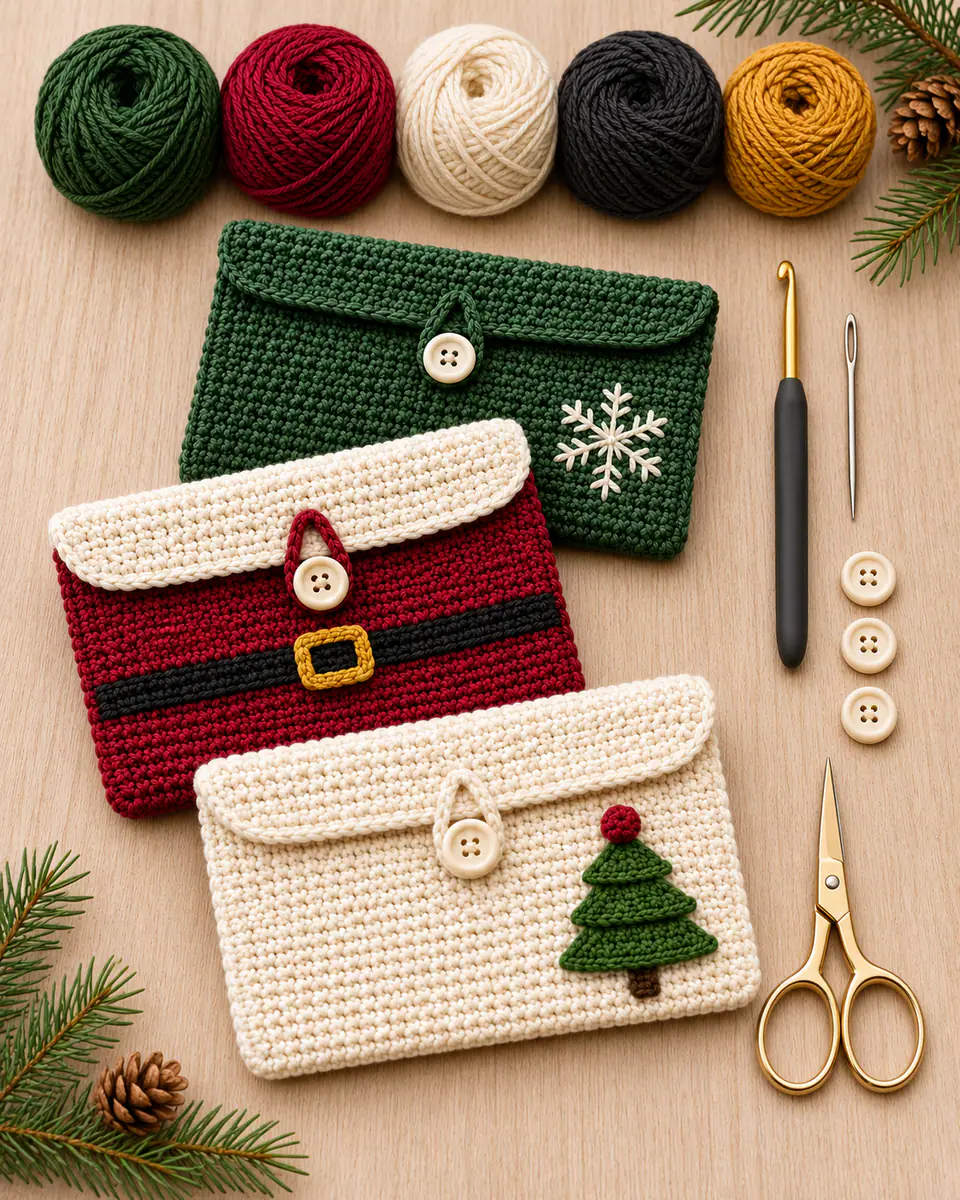
This crochet gift card holder uses one fitted envelope base and three separate decoration options. The flap closes with a yarn loop over a sewn button, keeping a standard bank card secure without a bulky drawstring.
One Crochet Gift Card Holder Base, Three Designs
The body is a 19-stitch rectangle folded after Row 20. Fourteen additional rows form the flap, which means there is no separate piece to misalign. Side seams stop below the fold line so the card slides in without catching.
Materials You'll Need
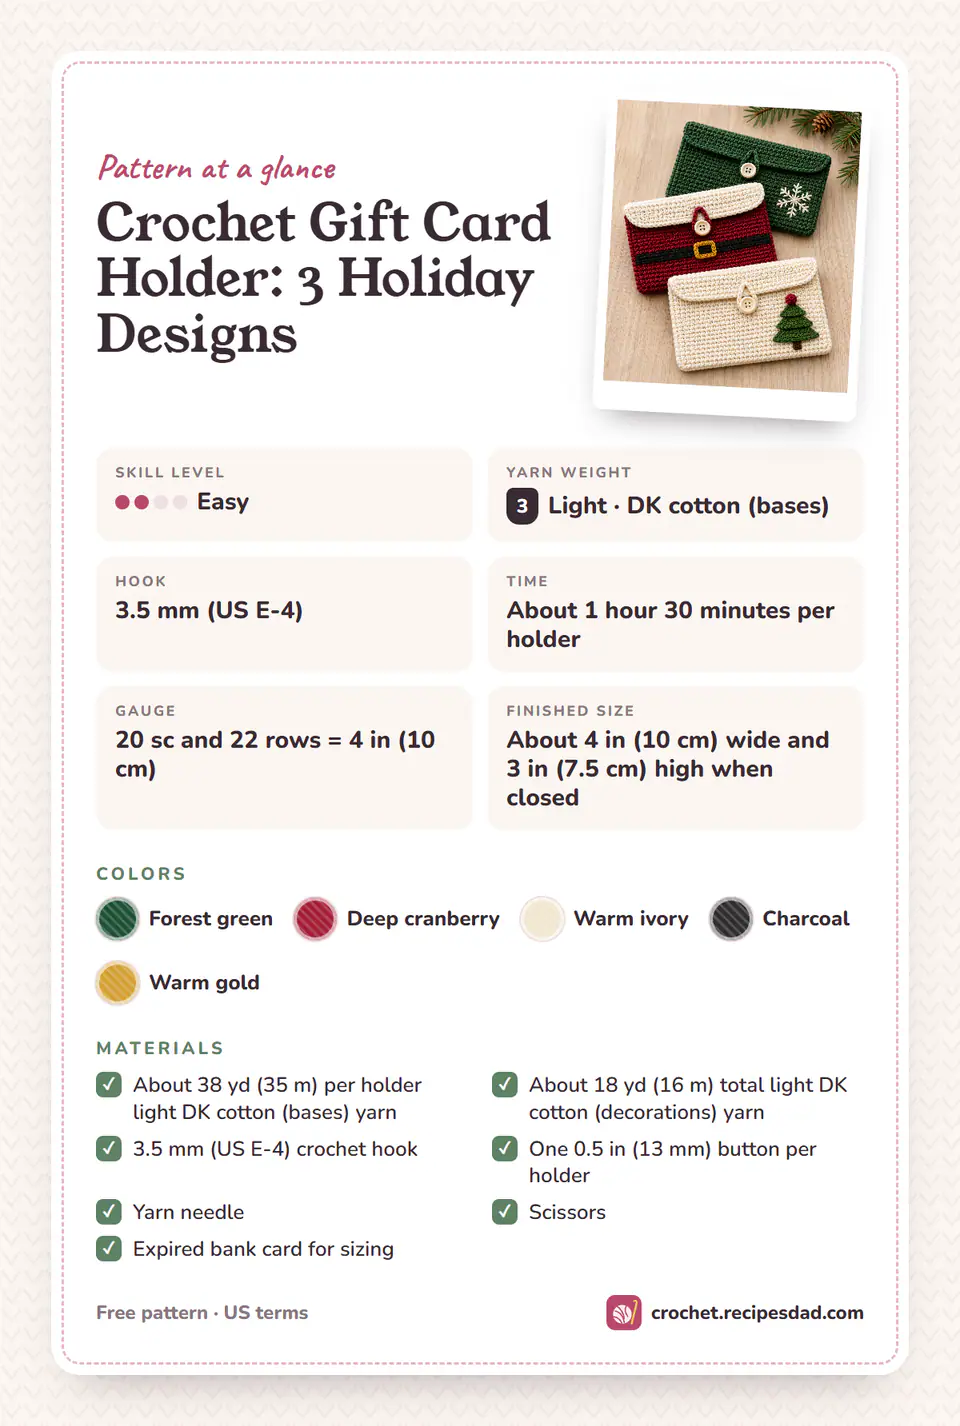
- About 38 yd (35 m) per holder DK cotton (bases), 100% cotton, in Forest green and Deep cranberry and Warm ivory.
- About 18 yd (16 m) total DK cotton (decorations), 100% cotton, in Charcoal and Warm gold.
- 3.5 mm (US E-4) crochet hook.
- One 0.5 in (13 mm) button per holder.
- Yarn needle.
- Scissors.
- Expired bank card for sizing.
Choose a button no larger than 0.5 in (13 mm). A larger button can distort the flap and cover too much of the decoration.
Gauge and Finished Measurements
- Skill level: Easy.
- Gauge: 20 sc and 22 rows = 4 in (10 cm).
- Finished size: About 4 in (10 cm) wide and 3 in (7.5 cm) high when closed.
- Working time: About 1 hour 30 minutes per holder.
Test the width with an expired card after Row 4. The card should sit inside with about one stitch of ease on each side.
Abbreviations and Special Stitches
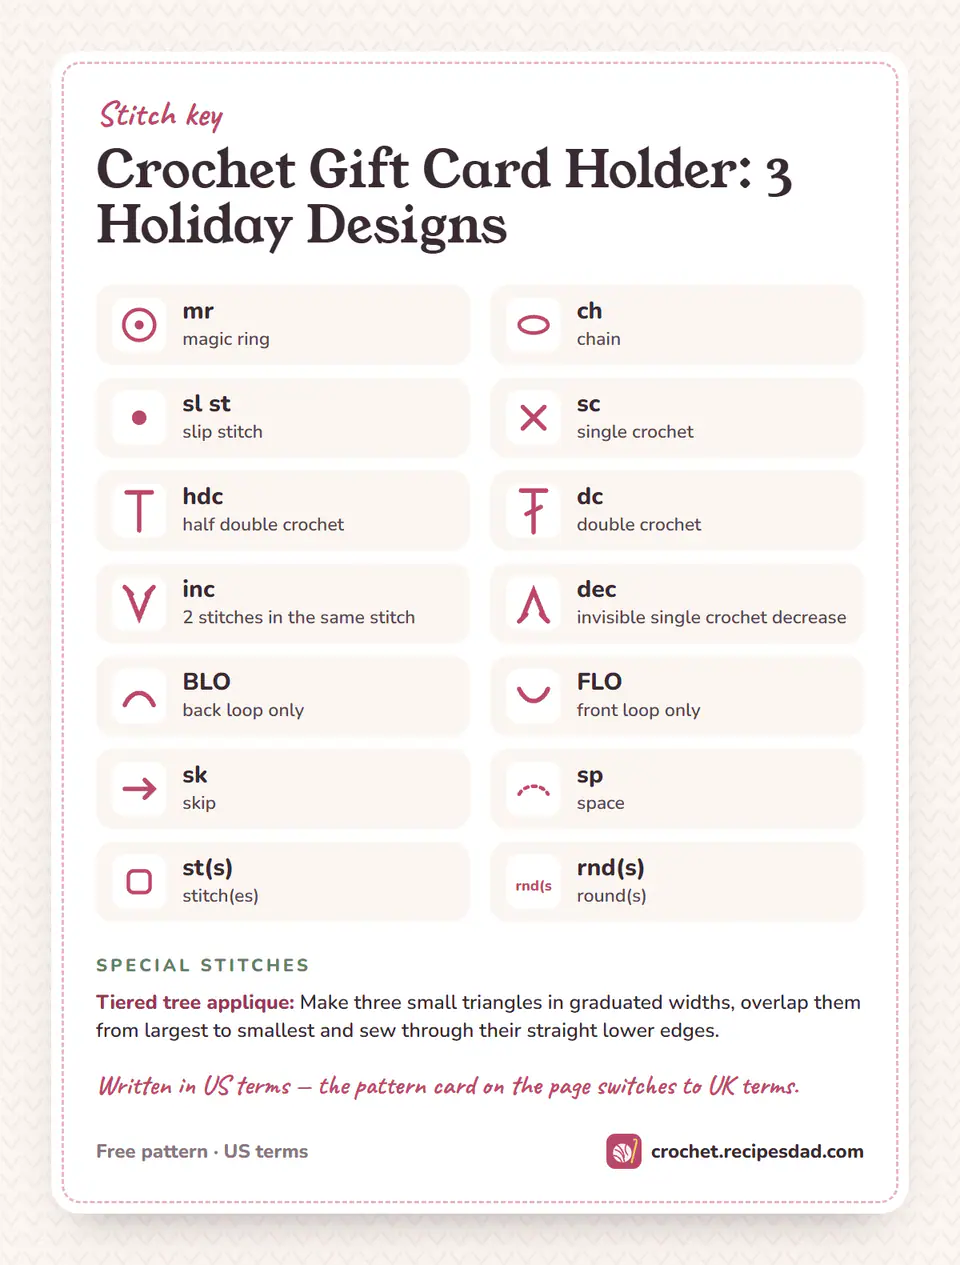
Instructions use US crochet terms. Count at the end of every numbered row or round before moving on.
- mr: magic ring.
- ch: chain.
- sl st: slip stitch.
- sc: single crochet.
- hdc: half double crochet.
- dc: double crochet.
- inc: 2 stitches in the same stitch.
- dec: invisible single crochet decrease.
- BLO: back loop only.
- FLO: front loop only.
- sk: skip.
- sp: space.
- st(s): stitch(es).
- rnd(s): round(s).
Tiered tree applique: Make three small triangles in graduated widths, overlap them from largest to smallest and sew through their straight lower edges.
Pattern Notes
- Turn after every base row.
- The lower 20 rows form the pocket and the final 14 rows form the flap.
- Sew decorations to the flat front before joining the side seams.
The finished holder is decorative packaging, not a wallet. Remove the card before washing and avoid carrying it where the button can catch.
How to Crochet a Gift Card Holder
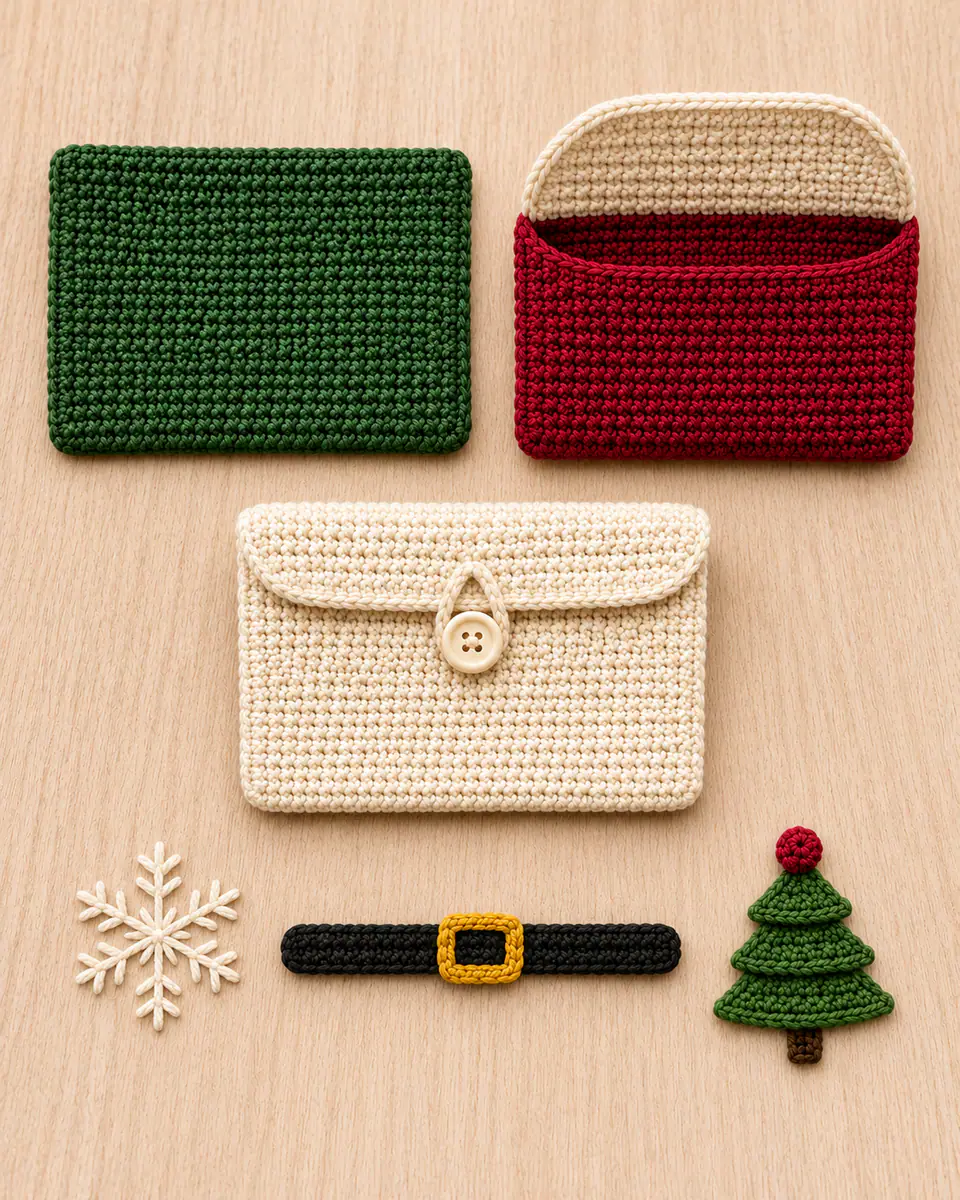
Work the rectangle from the bottom edge to the flap edge. Fold the lower 20 rows upward and seam both sides with a shallow whipstitch. The remaining rows bend over the opening. Attach the loop at the flap center only after the button position is marked.
Choosing and Placing the Decoration
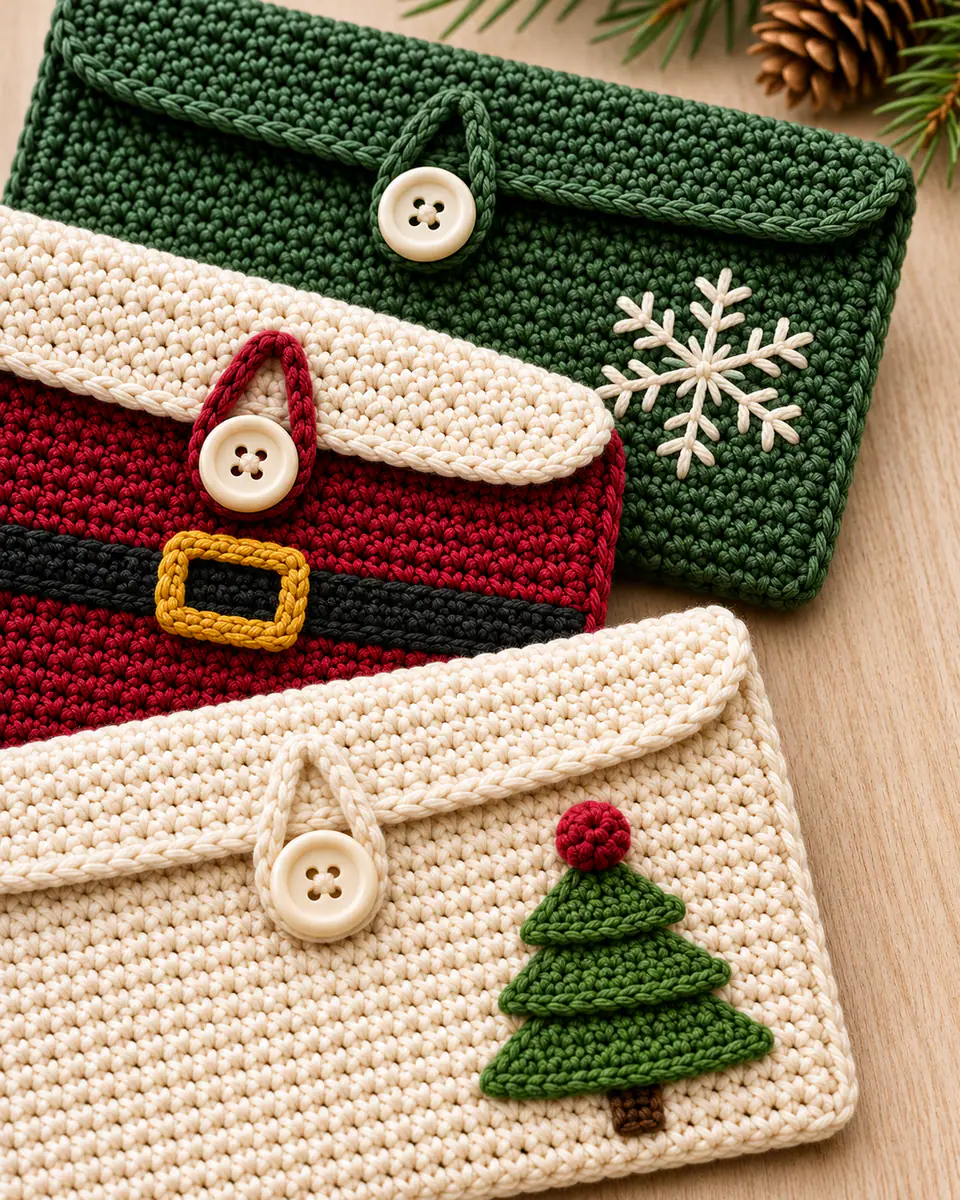
- For the green version, embroider the ivory snowflake on the front before side seaming.
- For the Santa version, sew the charcoal belt strip across the cranberry front and center the gold buckle.
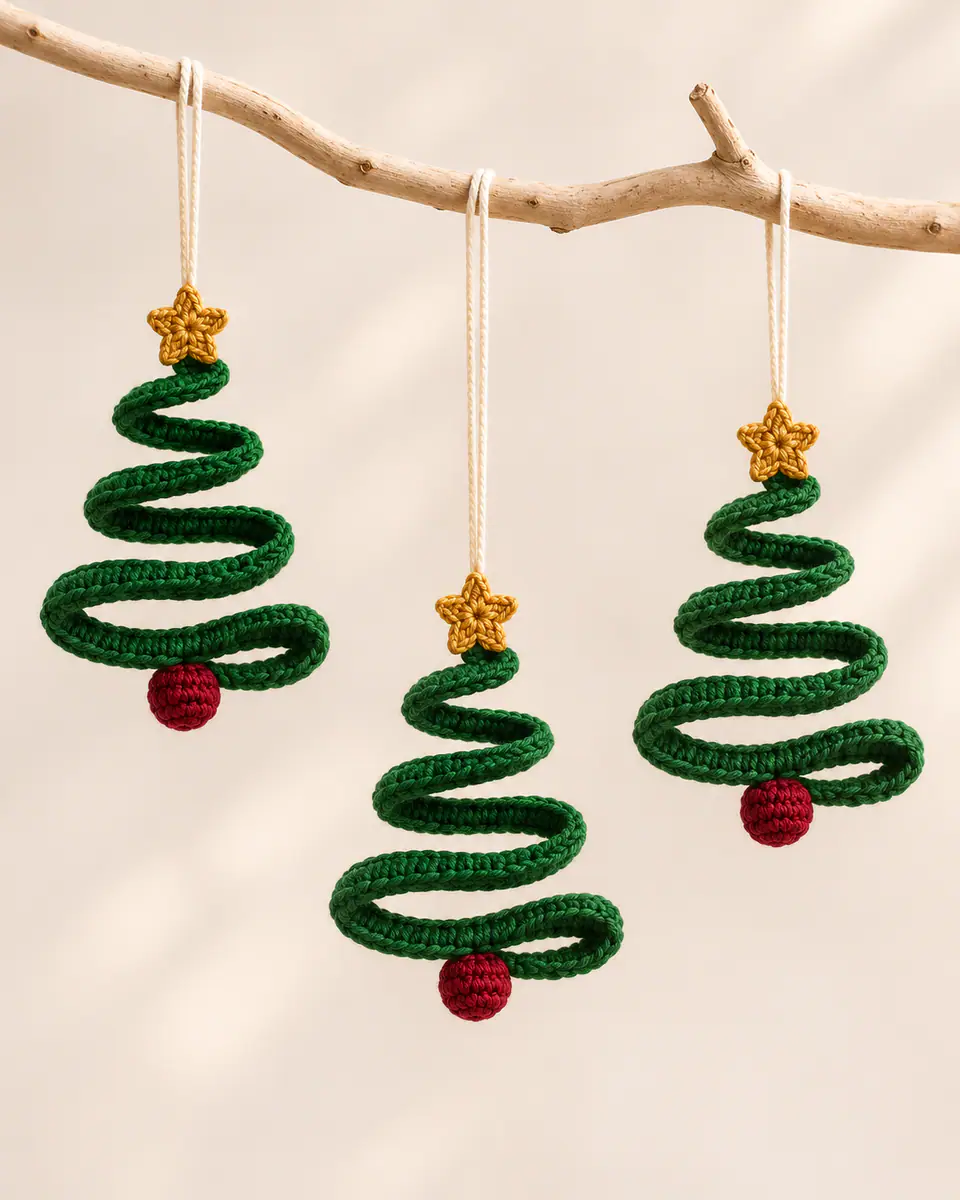
- For the ivory version, stack the three green tree tiers and add one cranberry bobble at the top.
- Fold each base, sew both side seams and attach one button.
- Make a nine-chain loop at the flap center and test the closure with a card inside.
Keep decorations below the flap edge. Thick pieces under the flap prevent the button loop from lying flat.
A Card Fit without Stretching
- Measure a real card rather than relying on yarn label gauge.
- Steam the empty base before folding.
- Use mattress stitch for flat side seams.
- Place the button after the loop is finished.
Using the Holders after the Holiday
The same base can hold a folded note, tea sachet or small photo. Leave off the seasonal decoration and embroider a simple initial for birthdays. Never place a magnetic hotel key beside a strong magnetic closure; this version uses an ordinary button.
Care and Storage
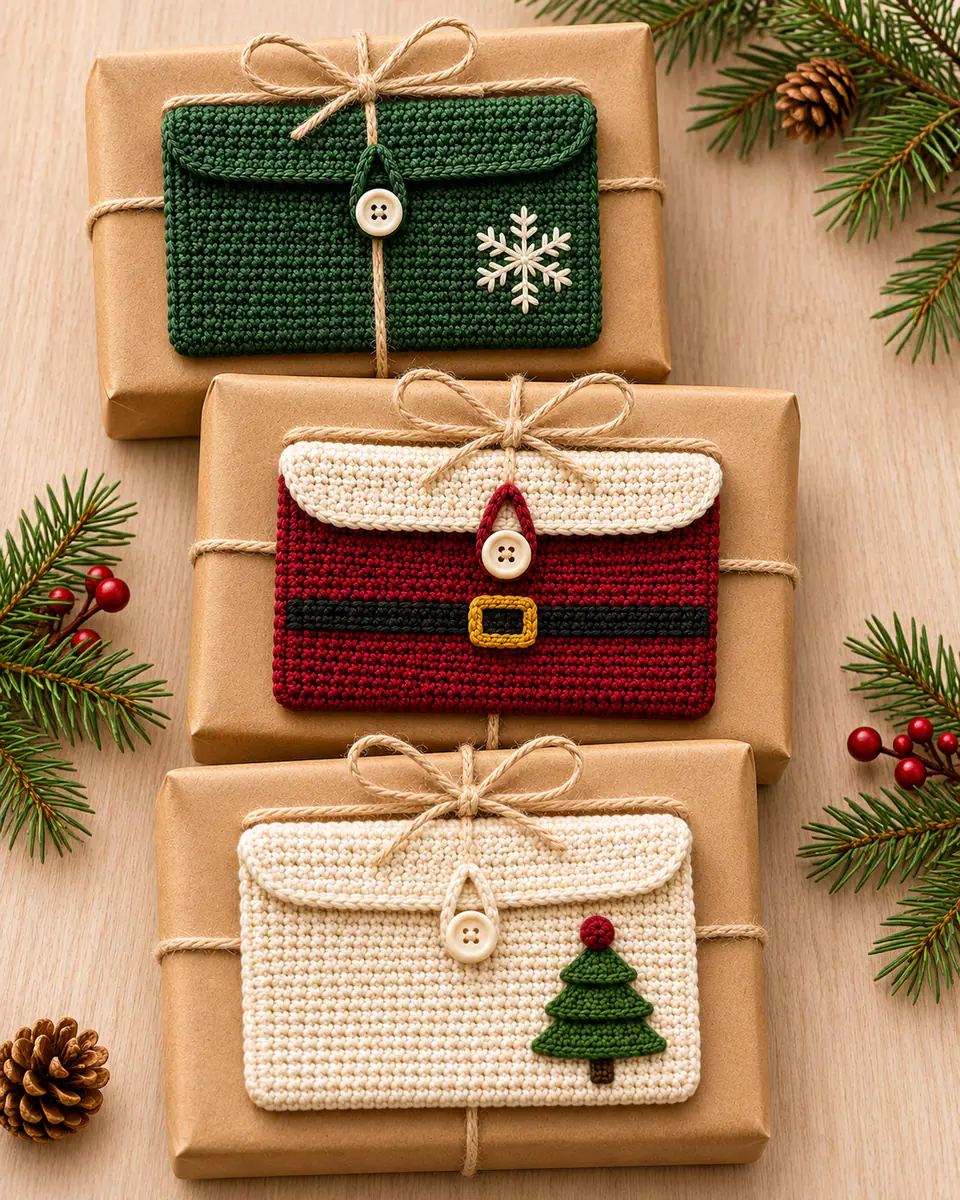
Remove all paper or plastic contents. Hand wash, reshape over a flat card-sized template and let the holder dry fully before inserting a new card.
Frequently Asked Questions
Will a standard gift card fit?
Yes. At the stated gauge, the inside measures about 3.75 by 2.5 in (9.5 by 6.5 cm), giving a small amount of ease.
Can I use a snap instead of a button?
Yes, sew a small nonmagnetic snap inside the flap and omit the chain loop.
Why does the flap curl?
The row tension changed after the fold section. Steam lightly and block the flap flat before adding the loop.
Can I make all three from one skein?
One 100 g skein makes several bases, but the three color designs also need small contrasting yarn amounts.
Where should the decoration sit?
Center it on the front pocket, at least two rows below the flap edge and clear of both side seams.
Crochet Gift Card Holder: 3 Holiday Designs
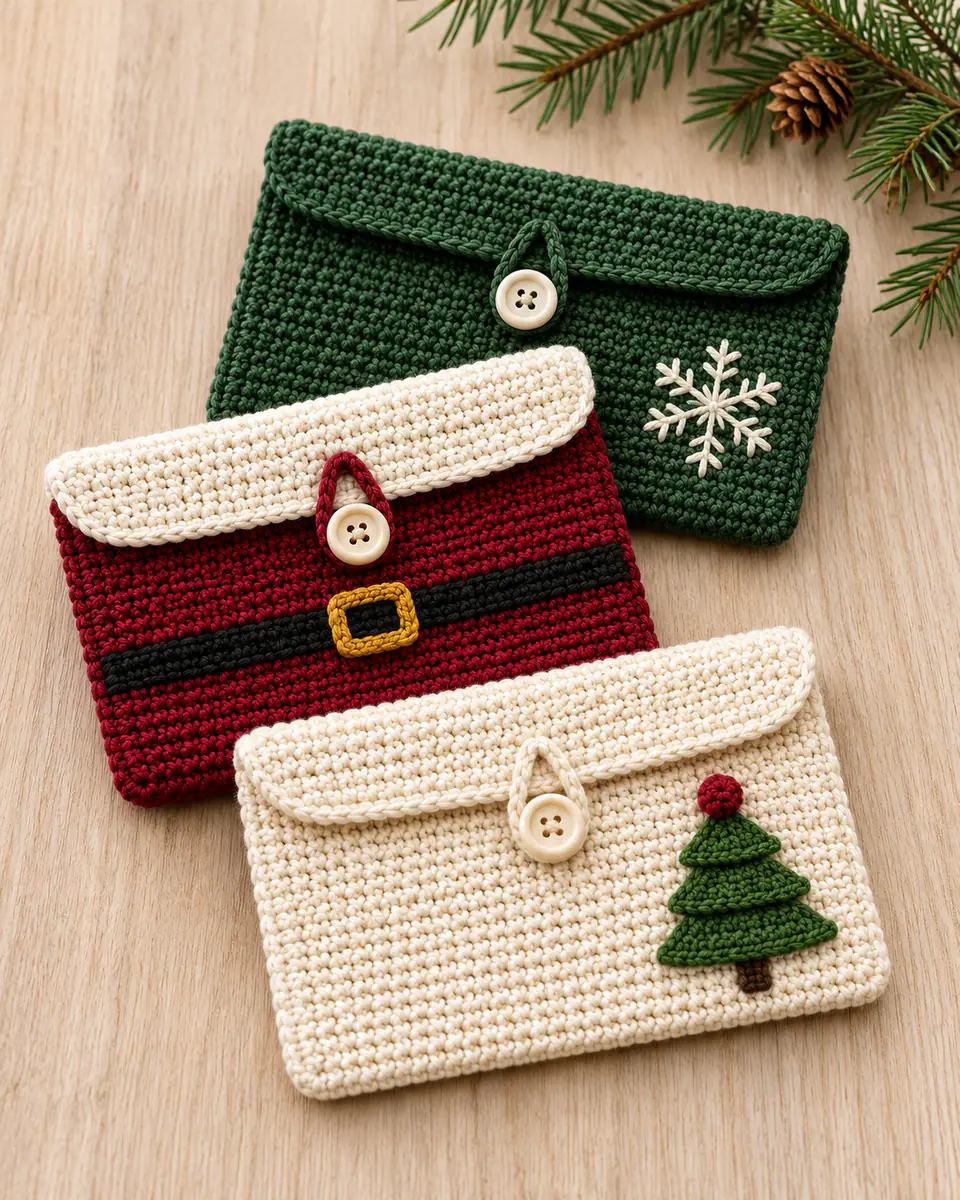
Make a crochet gift card holder in three distinct holiday styles: snowflake, Santa belt or Christmas tree. One fitted envelope base works for all three.
Pattern by Clara Parker · Crochet Mom
Materials
Abbreviations (US)
| mr | magic ring |
|---|---|
| ch | chain |
| sl st | slip stitch |
| sc | single crochet |
| hdc | half double crochet |
| dc | double crochet |
| inc | 2 stitches in the same stitch |
| dec | invisible single crochet decrease |
| BLO | back loop only |
| FLO | front loop only |
| sk | skip |
| sp | space |
| st(s) | stitch(es) |
| rnd(s) | round(s) |
Special stitches
- Tiered tree applique
- Make three small triangles in graduated widths, overlap them from largest to smallest and sew through their straight lower edges.
Pattern notes
- Turn after every base row.
- The lower 20 rows form the pocket and the final 14 rows form the flap.
- Sew decorations to the flat front before joining the side seams.
The pattern
Tap a row to tick it off — your place is saved on this device.
Envelope base (make 1 per holder)
0/2Use green, cranberry or ivory.
- Row 1 Ch 20, sc in the second ch and each ch across. Turn. (19)
- Rows 2-34 Ch 1, sc in each st across. Turn. Fasten off after Row 34. (19)
Button loop
0/1Attach at the flap center.
- Row 1 Ch 9, sl st in the first ch to form a loop. Fasten off. (9 ch)
Santa belt strip (charcoal)
0/2For the cranberry holder.
- Row 1 Ch 20, sc in the second ch and each ch across. Turn. (19)
- Rows 2-3 Ch 1, sc in each st across. Turn. Fasten off after Row 3. (19)
Buckle (gold)
0/1Shape into a small square.
- Row 1 Ch 14, sl st in the first ch to form a ring. Fasten off. (14 ch)
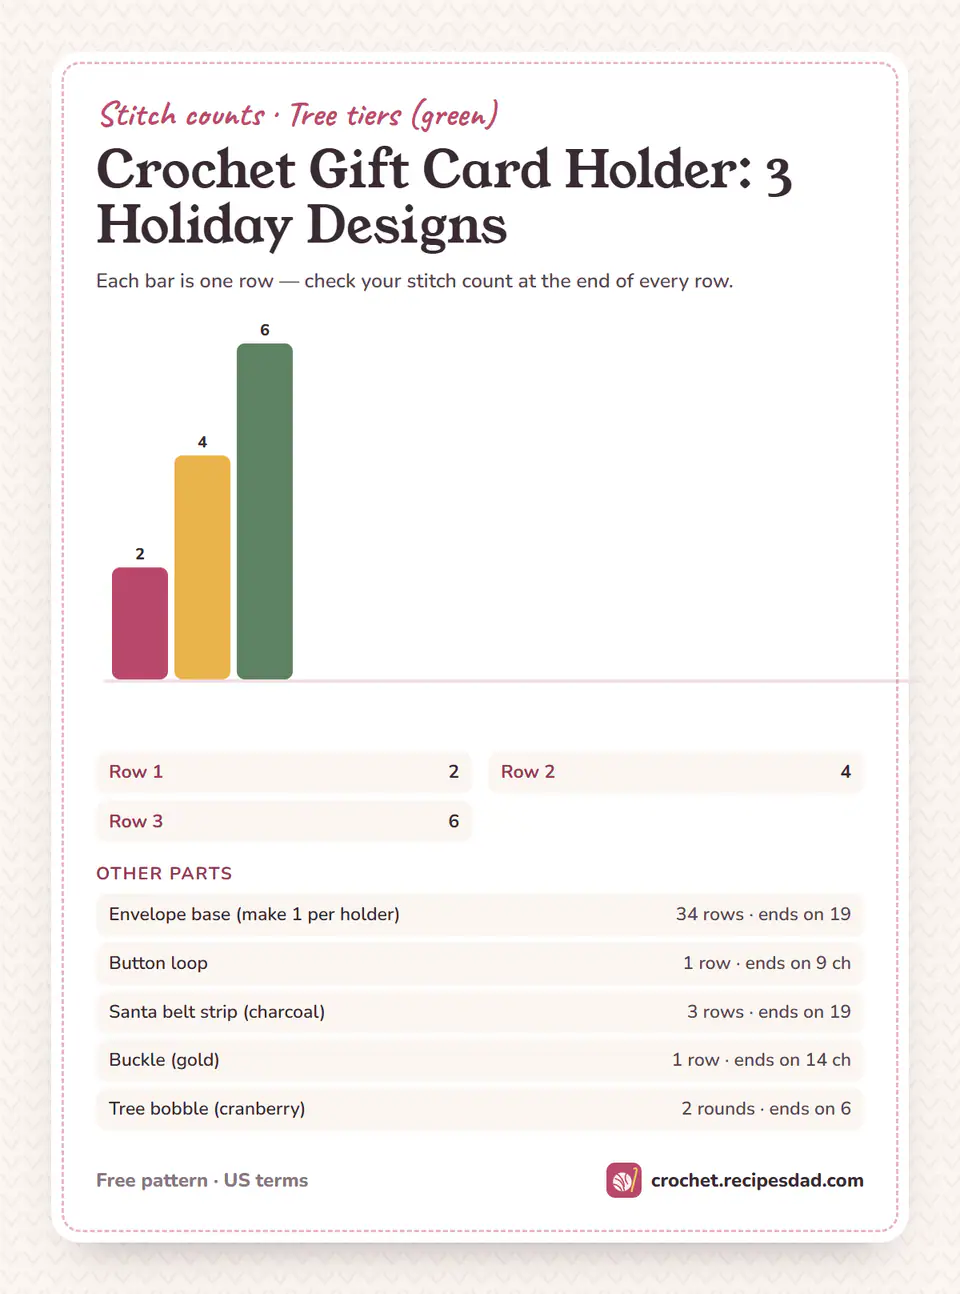
Tree tiers (green)
0/3Make 3 graduated triangles.
- Row 1 Ch 3, sc in the second ch and next ch. Turn. (2)
- Row 2 Ch 1, inc in each st. Turn. (4)
- Row 3 Ch 1, inc, sc in the next 2 sts, inc. Fasten off for the small tier; repeat and continue for larger tiers. (6)
Tree bobble (cranberry)
0/2Leave a sewing tail.
- Rnd 1 Make a mr and work 6 sc in the ring. (6)
- Rnd 2 Sc in each st around. Fasten off and close. (6)
Finishing
- Decorate the flat front.
- Fold after Row 20 and sew the side seams.
- Attach one button and one chain loop.
- Block to card dimensions.
Made one? Leave a note below and tell us about your colours — or save the pattern to Pinterest for later. You are welcome to sell items you make from this pattern; please don’t republish the pattern itself.
© 2026 Crochet Mom · crochet.recipesdad.com/crochet-gift-card-holder-pattern/

Clara Parker
I’m Clara — a mom who is never without a hook, and the crochet half of the Recipes Dad family. I write cozy, practical patterns you can actually finish.
More about Clara
Maker notes
Made this pattern? Tell us about your yarn and colors, or ask a question about a row — Clara reads every note.