
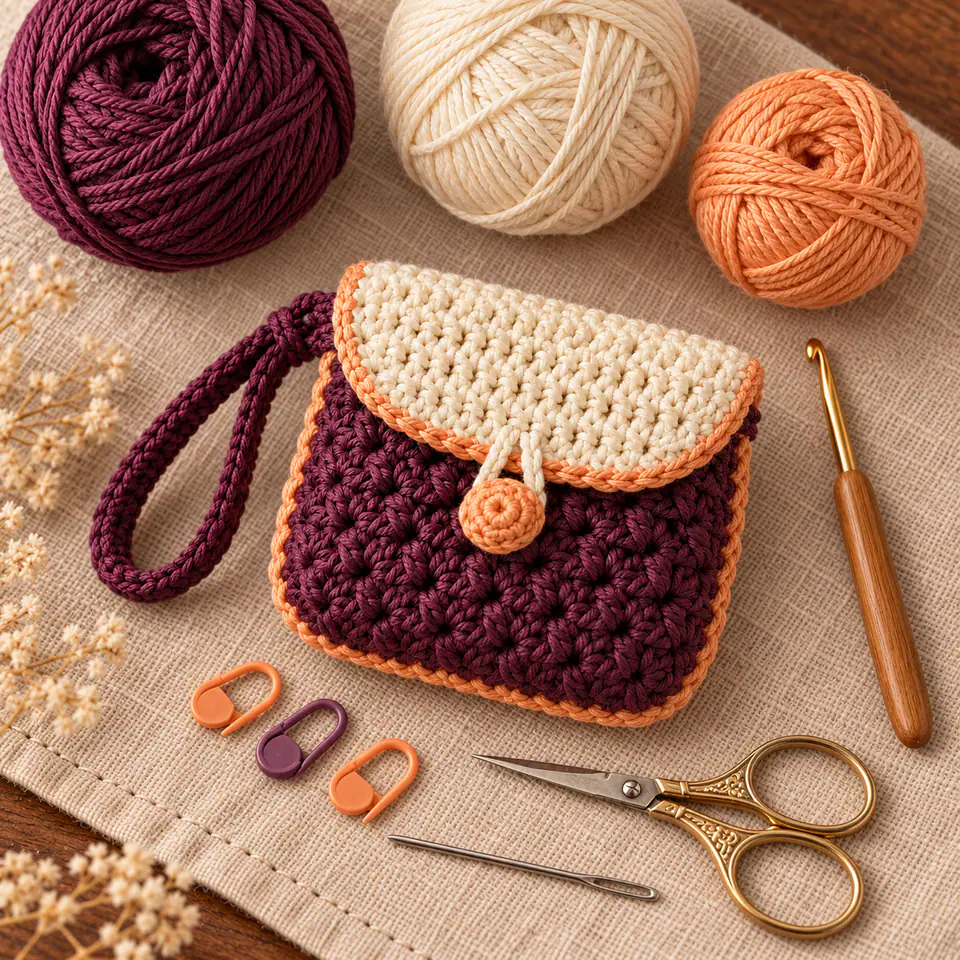
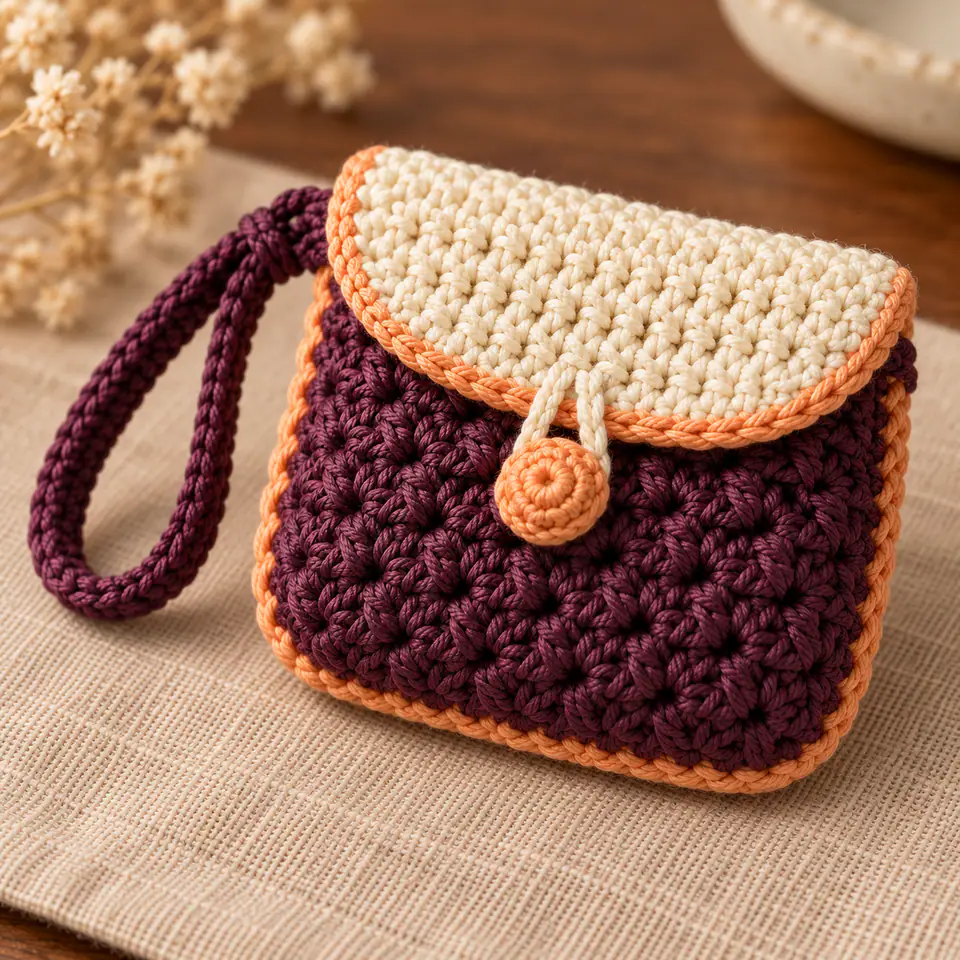
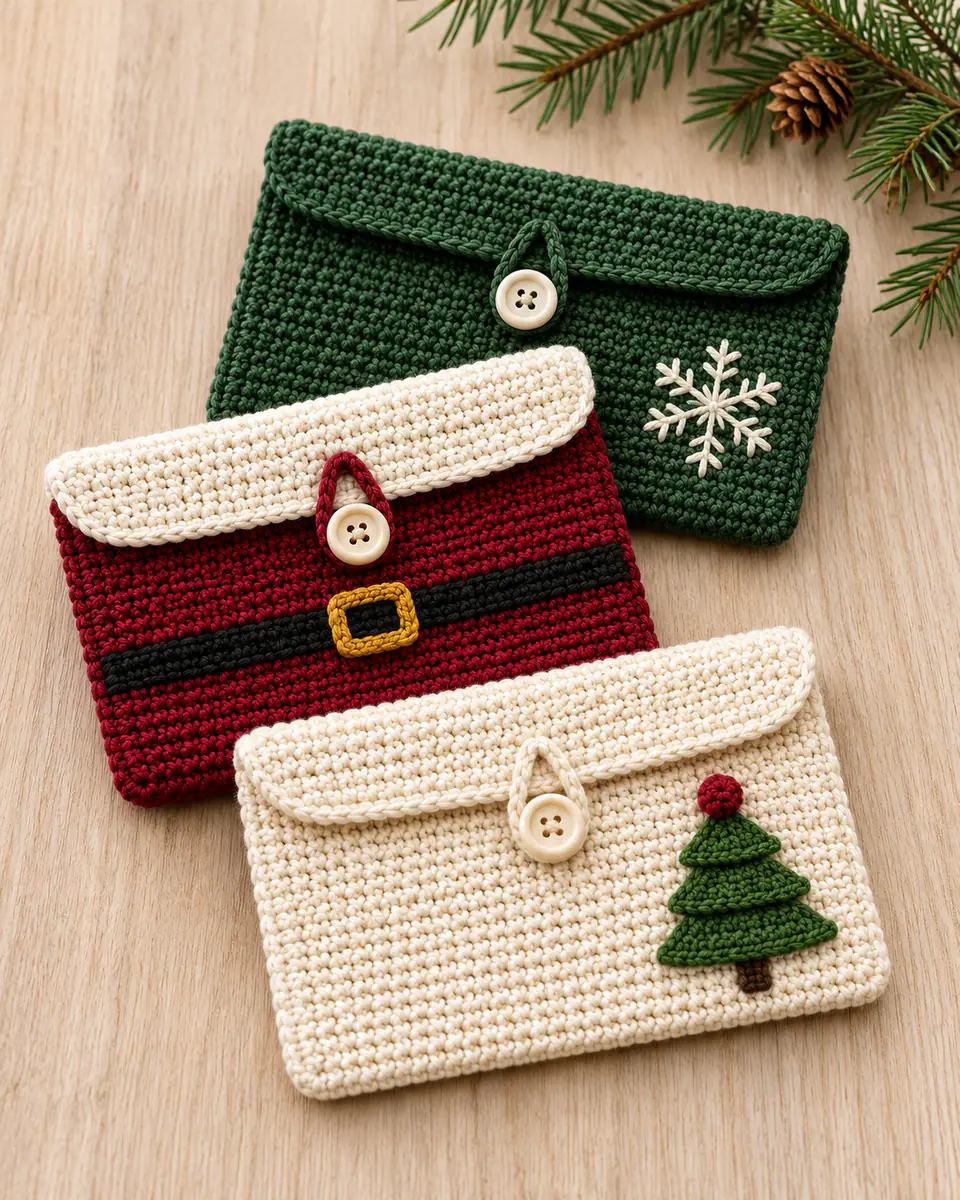
This crochet pouch is sized for a compact earbud charging case, with a finished interior of about 3.25 by 3.5 in (8.3 by 9 cm). Two aubergine lemon-peel panels make the body, an apricot seam defines the edge, and a cream envelope flap closes with a soft crochet toggle.
The wrist loop is anchored inside the side seam, so its pull is spread across the joined panels. There is no drawstring, bead or metal button to scratch the case.
Why This Crochet Pouch Holds Its Shape
Small cases need more structure than their yarn amount suggests. Lemon-peel stitch alternates single and double crochet to make a dense surface. Two flat panels keep the dimensions easy to verify, while the contrasting seam adds another layer around the three closed edges.
- Measured panels. Both body pieces are 20 stitches by 16 rows.
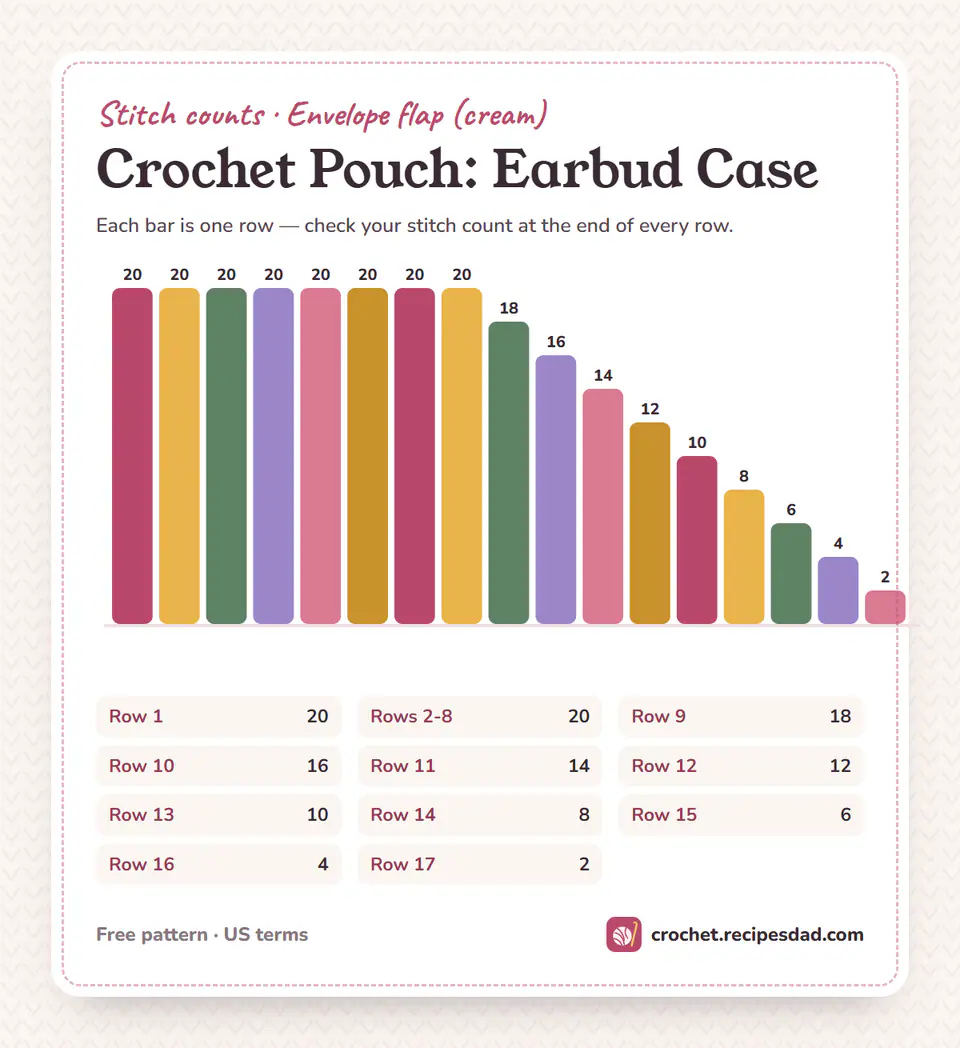
- A shaped flap. Paired decreases bring the cream flap from 20 stitches to a two-stitch point.
- Soft closure. A flat crochet toggle passes through a cream yarn loop.
- Reinforced carry loop. Both strap ends sit under the apricot side seam.
Materials
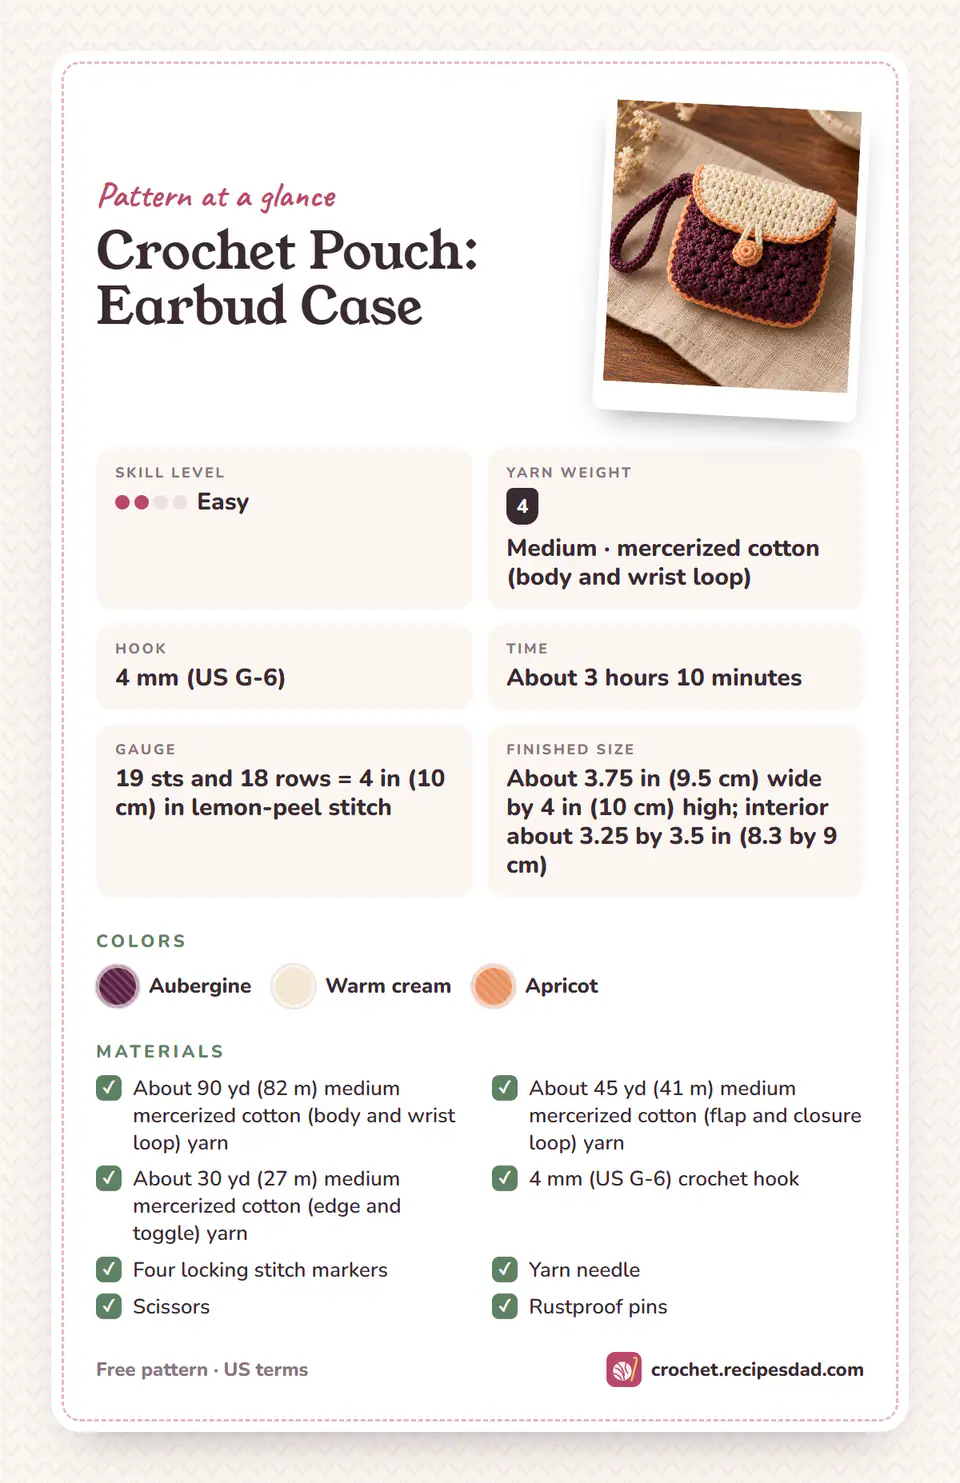
- Worsted weight (4) mercerized cotton: 90 yd (82 m) aubergine, 45 yd (41 m) cream and 30 yd (27 m) apricot.
- 4 mm (US G-6) hook.
- Four locking markers, yarn needle, scissors and rustproof pins.
Mercerized cotton gives the flap and toggle a smooth surface. A matte cotton also works, but avoid a loose multi-ply yarn because the repeated double crochets can split when the scale is this small.
Gauge and Case Measurements
- Skill level: Easy.
- Finished exterior: about 3.75 in (9.5 cm) wide by 4 in (10 cm) high with the flap closed.
- Interior: about 3.25 by 3.5 in (8.3 by 9 cm).
- Gauge: 19 stitches and 18 rows = 4 in (10 cm) in lemon-peel stitch.
Measure the device case before starting. Add about 0.5 in (1.3 cm) to both its width and height for ease and seam thickness. If your gauge differs, changing the foundation chain is cleaner than forcing a tight case into the finished pouch.
Stitches and Texture
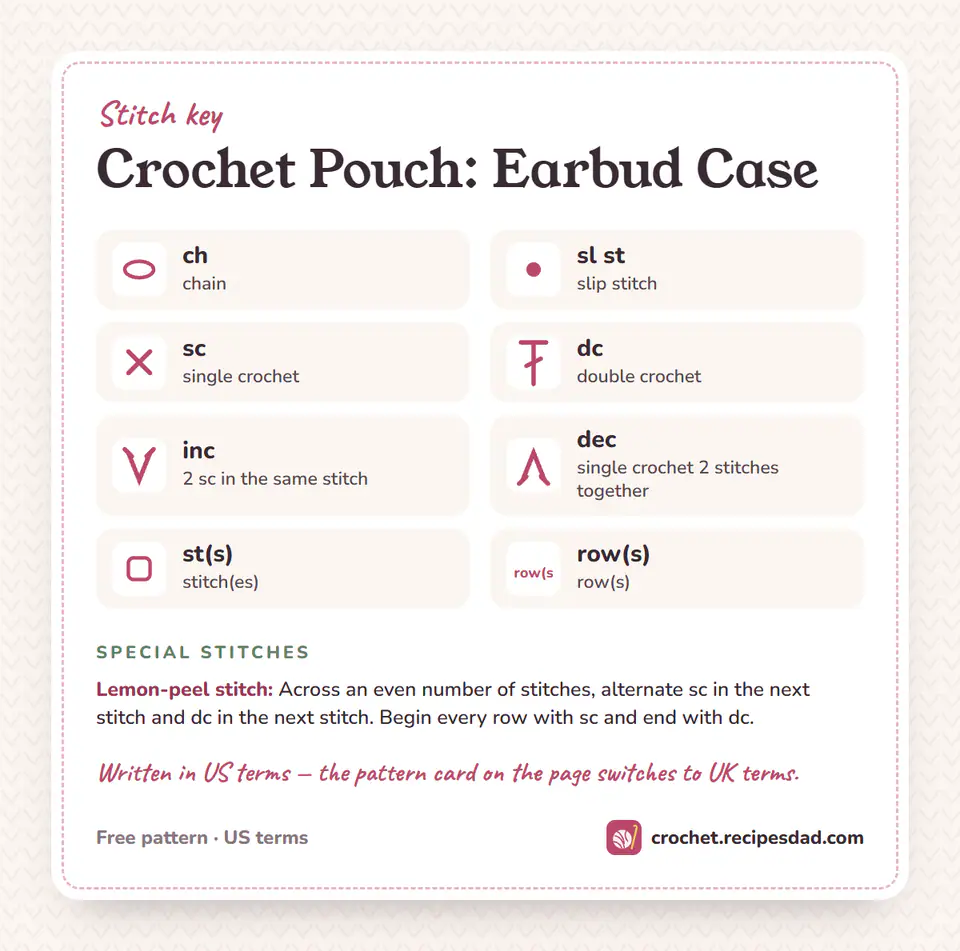
The pattern uses US terms. The body repeat is simple once the first two stitches are established.
- Lemon-peel stitch: alternate sc and dc across an even number of stitches.
- dec: single crochet two stitches together.
- inc: two single crochets in one stitch.
- sl st: slip stitch.
Pattern Notes
- Turning chains do not count as stitches.
- Begin every lemon-peel row with sc and end with dc.
- Block both panels to the same rectangle before seaming.
- Test the flap position with the intended case inside before sewing it permanently.
How to Crochet a Pouch from Flat Panels
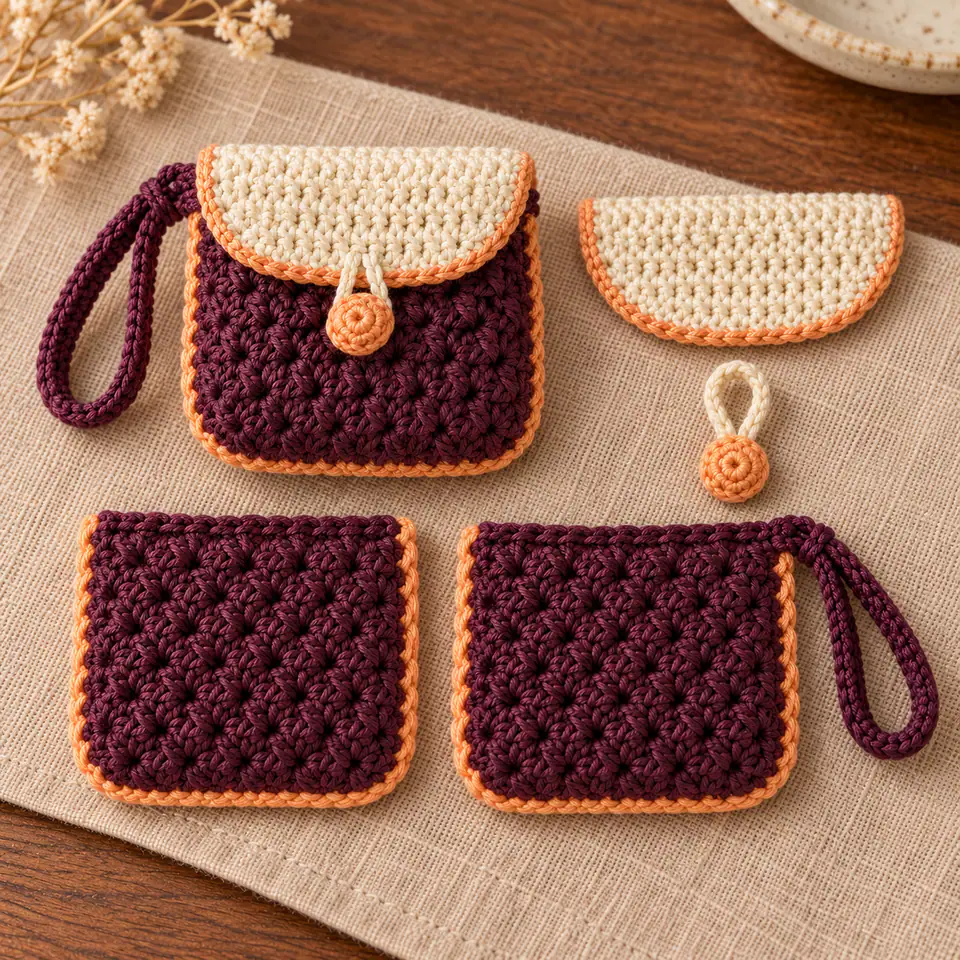
Make two identical aubergine rectangles. The alternating low and tall stitches create small raised clusters without a bulky bobble. A separate cream flap begins at the same 20-stitch width, stays straight for eight rows and then decreases at both edges.
The apricot join travels down one side, across the foundation edge and up the other side. Keep the top open. The wrist strap ends are caught under the first side seam and then sewn again inside for strength.
Assembly Order
- Place the panels with wrong sides together and pin the three closed edges.
- Tuck both wrist-loop ends 0.75 in (2 cm) between the layers at the upper left side.
- Join with apricot single crochet through both panels, working 52 stitches around the U-shaped edge.
- Sew the straight edge of the cream flap to the outside of the back panel, one row below the opening.
- Sew the closure loop under the flap point and the apricot toggle to the body where the loop reaches without stretching.
Fit and Finish Adjustments
- Case too wide: add two foundation chains and keep an even stitch count for lemon-peel stitch.
- Case too tall: add body rows to both panels before seaming.
- Flap point curls: block the flap separately and keep the decrease stitches loose.
- Toggle slips out: shorten the cream loop by two chains before moving the toggle.
Other Uses for a Crochet Small Pouch
The same crochet pattern pouch can hold stitch markers, coins or a folded charging cable. For a crochet mini pouch used as jewelry storage, leave off the wrist loop and line the panels with cotton fabric before seaming.
Color blocking helps the three parts read clearly. Try charcoal with a blush flap, or sage with a natural flap and cocoa edge. Keep the toggle in the edge color so it is easy to find.
Care
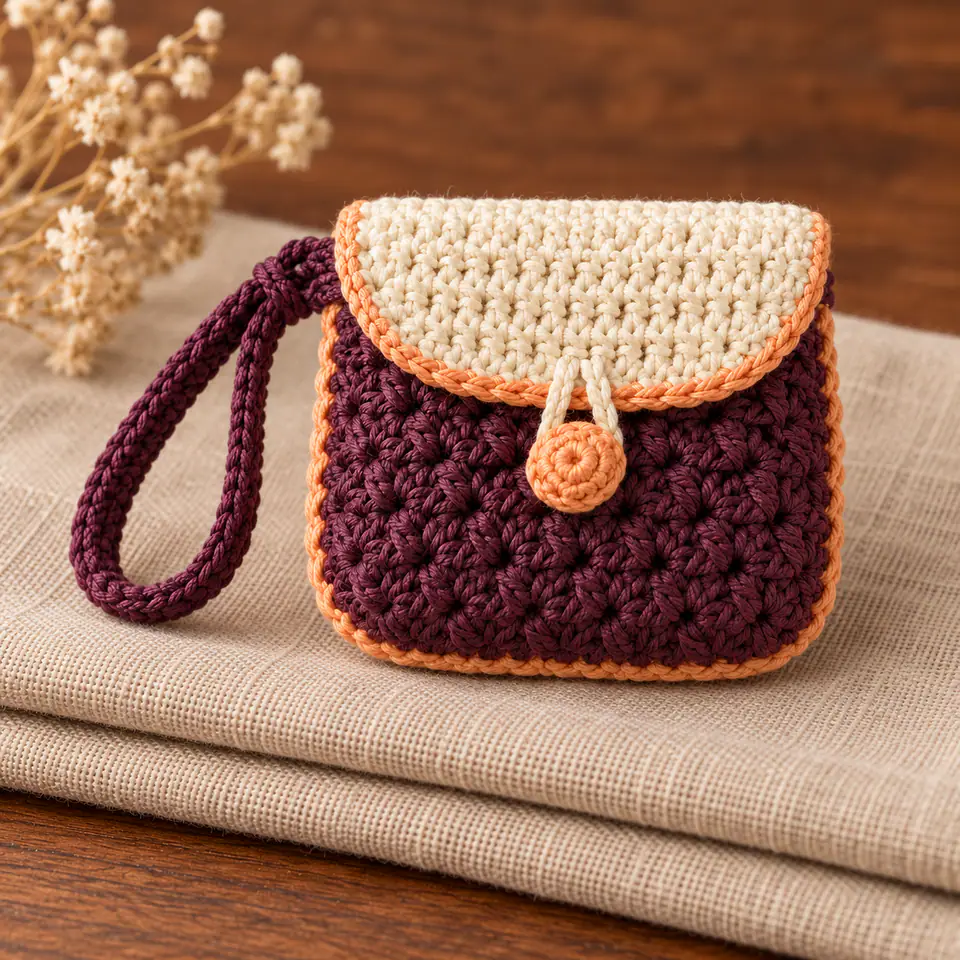
Remove electronics before cleaning. Hand wash the empty pouch in cool water, reshape the flap and dry flat with the toggle unfastened. Do not put a damp device into the pouch. Inspect the wrist-loop join if the case is carried from a bag handle.
Frequently Asked Questions
How to crochet a pouch for an earbud case?
Measure the case, crochet two dense panels with about half an inch of ease, seam three edges and add a shaped flap plus a soft closure.
Can I resize this crochet small pouch?
Yes. Add or remove foundation chains in pairs and adjust the row count, keeping both body panels identical.
Why are my lemon-peel rows slanting?
A stitch was added at the turning chain or skipped at the row end. Count 20 actual stitches and do not work into the turning chain.
Can I add a zipper?
You can omit the flap and hand-sew a short zipper to the top edges, but that changes the materials and finishing method.
Is a crochet mini pouch protective?
It protects against light scratches and keeps a case easy to find. It is not padded or waterproof and does not replace a hard protective case.
Can the wrist loop be removed?
Yes. Skip the strap piece and work the apricot side seam without trapping any ends.
Crochet Pouch: Earbud Case Crochet Pattern
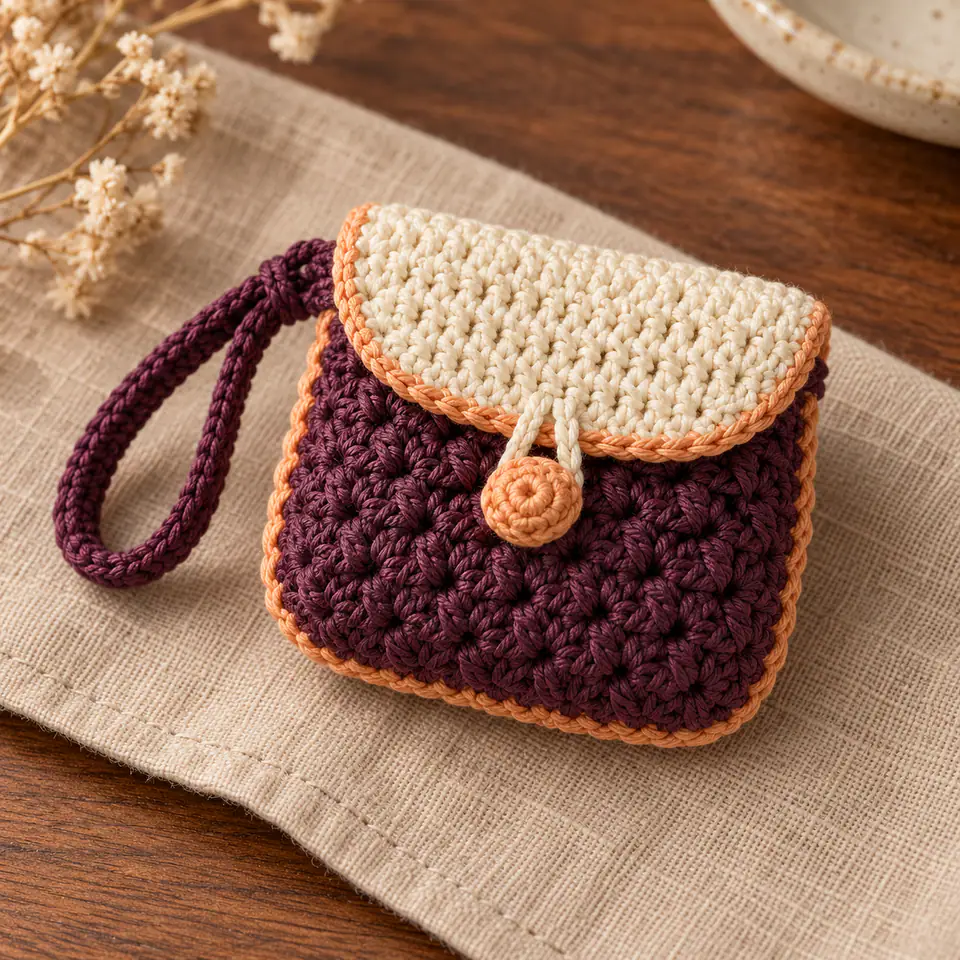
Crochet a small earbud pouch with an aubergine textured body, cream envelope flap, apricot edging, yarn toggle and wrist loop. Exact panel, flap and strap counts included.
Pattern by Clara Parker · Crochet Mom
Materials
Abbreviations (US)
| ch | chain |
|---|---|
| sl st | slip stitch |
| sc | single crochet |
| dc | double crochet |
| inc | 2 sc in the same stitch |
| dec | single crochet 2 stitches together |
| st(s) | stitch(es) |
| row(s) | row(s) |
Special stitches
- Lemon-peel stitch
- Across an even number of stitches, alternate sc in the next stitch and dc in the next stitch. Begin every row with sc and end with dc.
Pattern notes
- Turning chains do not count as stitches.
- Make 2 identical body panels.
- Block the panels and flap before assembly.
The pattern
Tap a row to tick it off — your place is saved on this device.
Body panels (make 2 in aubergine)
0/2Worked in lemon-peel stitch.
- Row 1 Ch 21, sc in the 2nd ch from the hook, dc in the next ch, then repeat (sc in the next ch, dc in the next ch) across. Turn. (20)
- Rows 2-16 Ch 1, repeat (sc in the next st, dc in the next st) across. Turn. Fasten off after Row 16. (20)
Envelope flap (cream)
0/11The first 8 rows form the straight attachment section.
- Row 1 Ch 21, sc in the 2nd ch from the hook and in each ch across. Turn. (20)
- Rows 2-8 Ch 1, sc in each st across. Turn. (20)
- Row 9 Ch 1, dec, sc in the next 16 sts, dec. Turn. (18)
- Row 10 Ch 1, dec, sc in the next 14 sts, dec. Turn. (16)
- Row 11 Ch 1, dec, sc in the next 12 sts, dec. Turn. (14)
- Row 12 Ch 1, dec, sc in the next 10 sts, dec. Turn. (12)
- Row 13 Ch 1, dec, sc in the next 8 sts, dec. Turn. (10)
- Row 14 Ch 1, dec, sc in the next 6 sts, dec. Turn. (8)
- Row 15 Ch 1, dec, sc in the next 4 sts, dec. Turn. (6)
- Row 16 Ch 1, dec, sc in the next 2 sts, dec. Turn. (4)
- Row 17 Ch 1, dec twice. Fasten off with a long tail. (2)
Apricot toggle
0/3Work in a continuous spiral.
- Rnd 1 Make a magic ring and work 6 sc in the ring. (6)
- Rnd 2 Inc in each st around. (12)
- Rnd 3 Sc in each st around. Join and fasten off with a long tail. (12)
Wrist loop (aubergine)
0/2Leave both ends long for anchoring inside the seam.
- Row 1 Ch 51, sc in the 2nd ch from the hook and in each ch across. Turn. (50)
- Row 2 Ch 1, sc in each st across. Fasten off. (50)
Closure loop (cream)
0/1Adjust by 2 chains if needed after test fitting.
- Row 1 Ch 14, sl st in the first ch to form a loop. Fasten off with two sewing tails. (14 ch)
Apricot panel join
0/1Work through both body panels around 3 edges.
- Join Sc through both panel layers down 16 row ends, across 20 foundation sts and up 16 row ends. Leave the top open. (52)
Finishing
- Anchor both wrist-loop ends inside one upper side before completing the apricot join.
- Sew the straight 20-stitch flap edge to the back panel one row below the opening.
- Sew the cream loop under the flap point and the apricot toggle to the pouch front.
- Insert the intended case, test the closure and reinforce every join.
Made one? Leave a note below and tell us about your colours — or save the pattern to Pinterest for later. You are welcome to sell items you make from this pattern; please don’t republish the pattern itself.
© 2026 Crochet Mom · crochet.recipesdad.com/crochet-earbud-pouch-pattern/

Clara Parker
I’m Clara — a mom who is never without a hook, and the crochet half of the Recipes Dad family. I write cozy, practical patterns you can actually finish.
More about Clara
Maker notes
Made this pattern? Tell us about your yarn and colors, or ask a question about a row — Clara reads every note.