
A crochet chart maps every stitch with a symbol, so you can see placement, repeats and shaping at a glance. To read one accurately, begin with its key, locate the starting point and follow the row or round numbers supplied by the designer.
This guide covers the standard symbols, charts worked flat, motifs worked in rounds and the separate rules used by filet and mosaic grids. It also shows how to compare a diagram with written instructions when one format is unclear.
Read a Crochet Chart in Five Checks
Before making a stitch, identify five things: the chart key, the starting point, the reading direction, the repeat boundary and the expected count. Those details tell you what the marks mean and how they connect. The written notes supplied with the chart override a general convention.
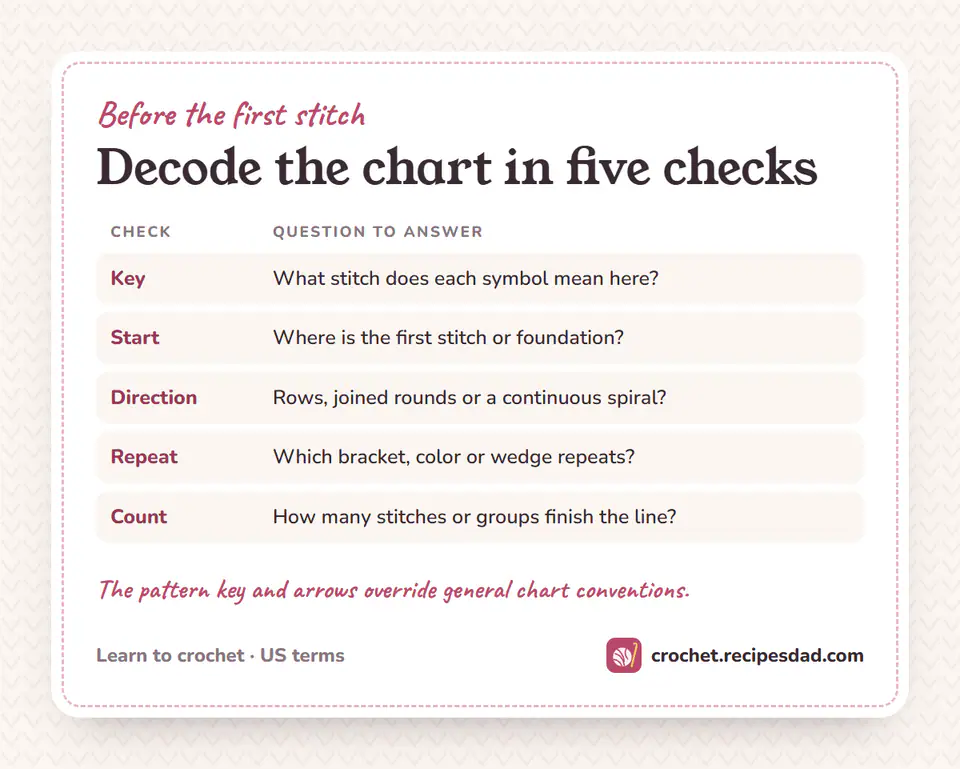
- Read the key. Match each mark to the stitch name used by this pattern.
- Find the start. Flat charts usually begin at the lower edge; motifs worked in rounds usually begin at the center.
- Find the direction. Use arrows, row numbers and round numbers when they are printed.
- Mark the repeat. A bracket, highlighted section or outlined wedge often shows the part to repeat.
- Check the count. Count symbols or stitch groups before moving to the next row or round.
Crochet Stitch Chart Symbols
A crochet stitch chart replaces stitch names with marks. A small oval commonly represents a chain, a dot represents a slip stitch, and a cross or plus sign represents single crochet. Taller stitches use a vertical post with a crossbar at the top; added diagonal bars identify extra yarn overs.
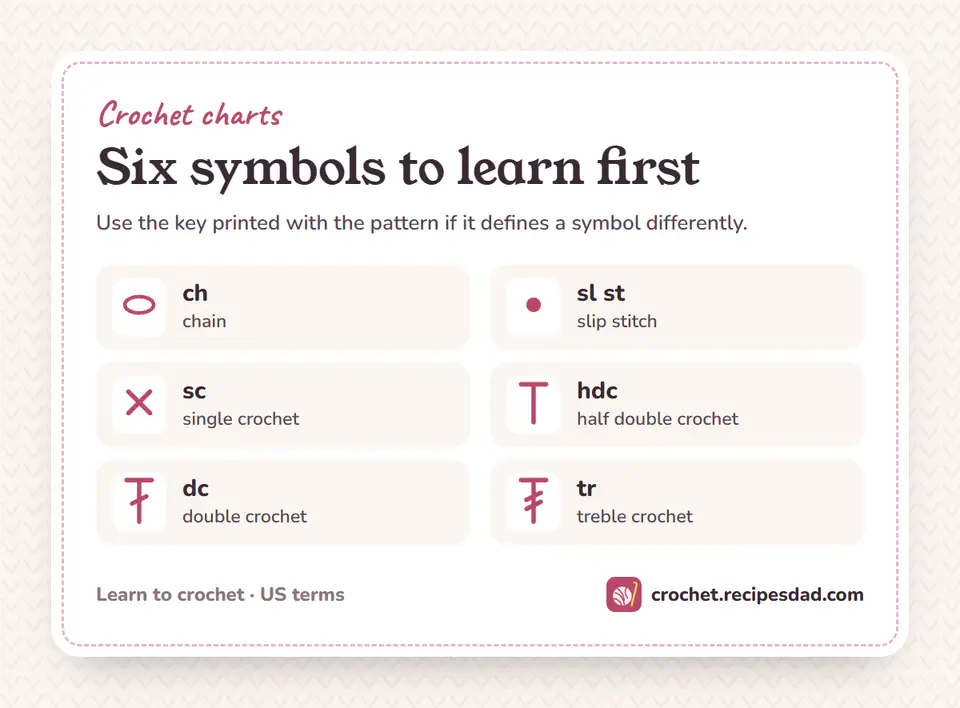
The Craft Yarn Council notes that the symbols generally show how stitches look from the right side of the work. A key is still essential because a designer can introduce a special symbol, and more than one common symbol may exist for single crochet.
| Visual clue | Likely stitch | What to verify |
|---|---|---|
| Small oval | Chain (ch) | How many ovals form the chain or space |
| Solid dot | Slip stitch (sl st) | Whether it joins a round or moves the working loop |
| Cross or plus | Single crochet (sc) | Which of the two standard shapes the key uses |
| T-shaped post | Half double crochet (hdc) | Whether the key distinguishes hdc from taller posts |
| Post with one slash | Double crochet (dc) | Placement at the top or base of another symbol |
| Post with two slashes | Treble crochet (tr) | The number of yarn-over bars |
If the abbreviations beside the diagram are unfamiliar, open the crochet abbreviations guide. It includes the standard US and UK terminology, pattern actions and punctuation.
Read Flat Crochet Charts in Rows
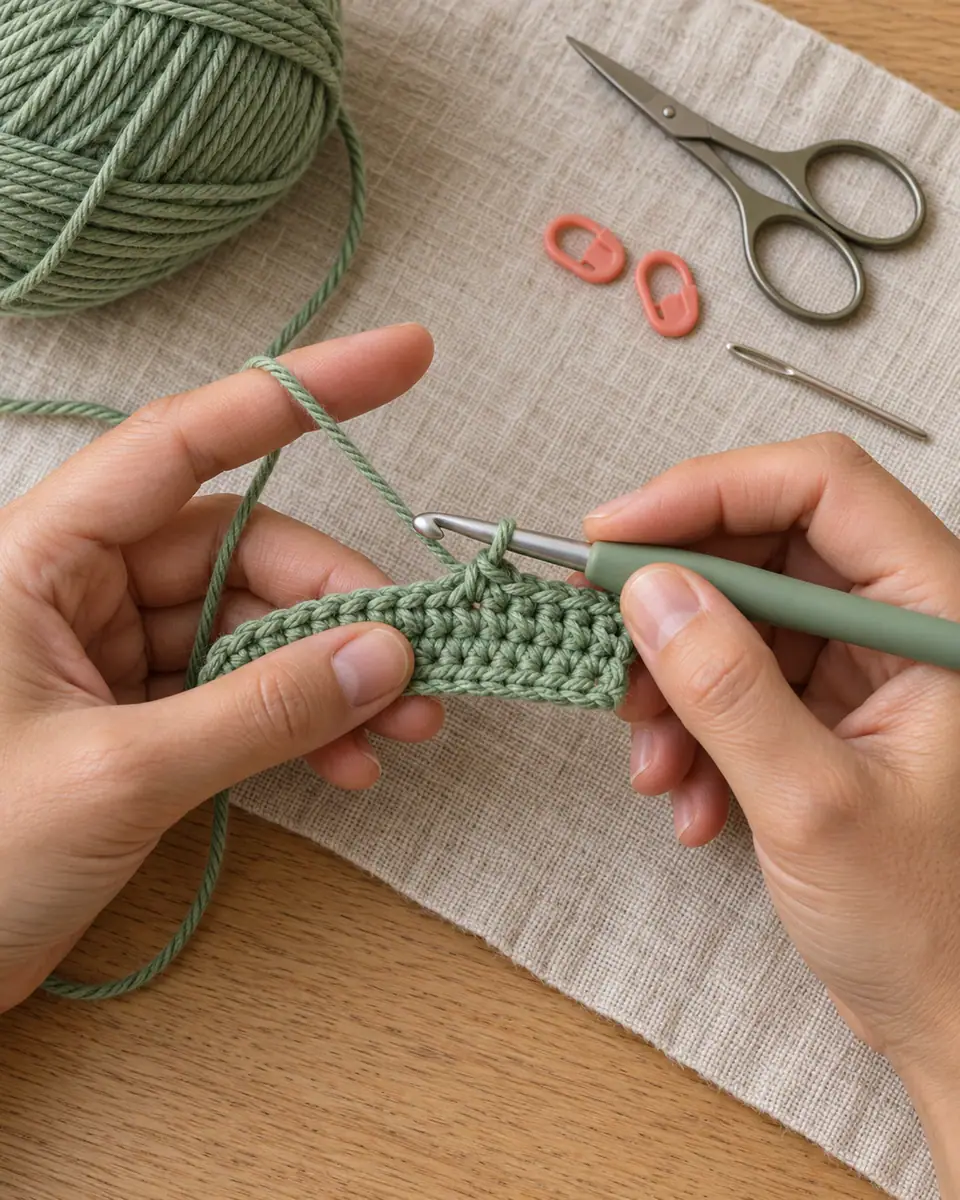
A standard chart for turned rows is read from the bottom upward. In a right-handed chart, Row 1 normally runs from right to left and Row 2 from left to right. The direction alternates because the fabric is turned after each row. Printed arrows and row numbers take priority over that convention.
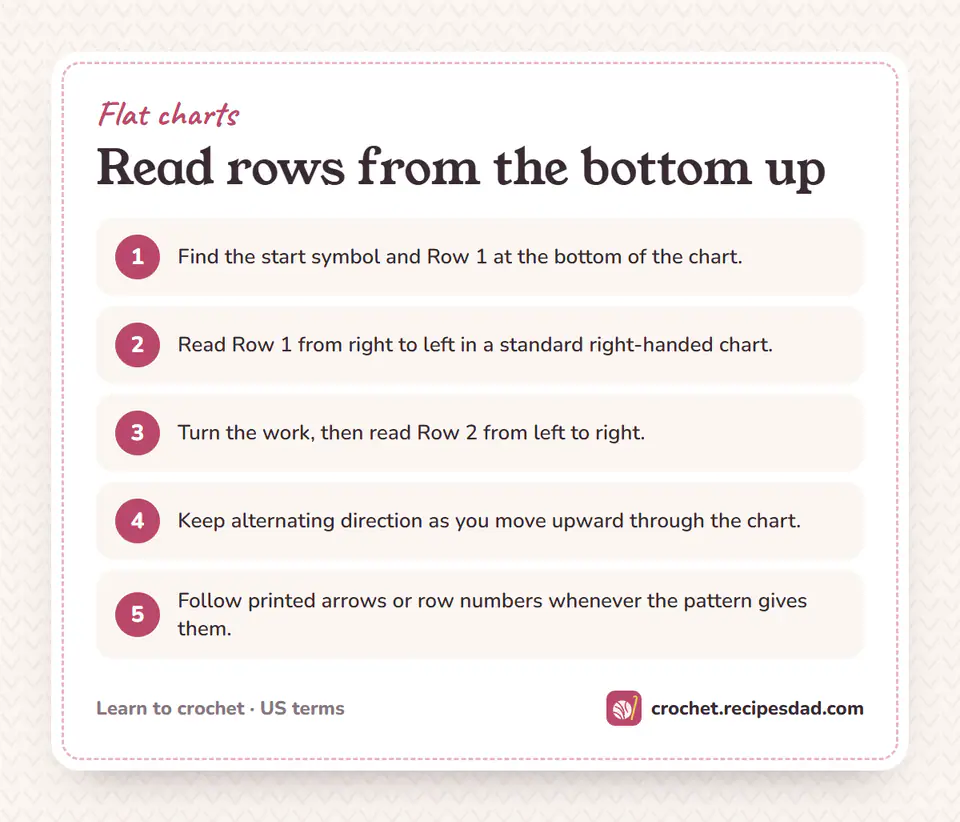
Turning chains often appear at one edge as a short vertical stack of chain ovals. Check the notes to learn whether that turning chain counts as the first stitch. Count it when the pattern says it is the first stitch. Otherwise, begin with the next full stitch symbol.
Reading a chart left-handed
Some left-handed crocheters mirror the normal direction, while others follow the printed chart and reverse only the hand movements. Either method can work when used consistently. Follow any left-handed instructions supplied by the designer, and use the written row counts to confirm that the fabric is developing correctly.
Read Round Charts from the Center
For a motif, begin at the center and move outward one round at a time. The center may be a magic ring, a ring of chains or a short foundation chain. A slip-stitch symbol at the end of a round usually signals a joined round; a spiral may use a marker and continue without a join.
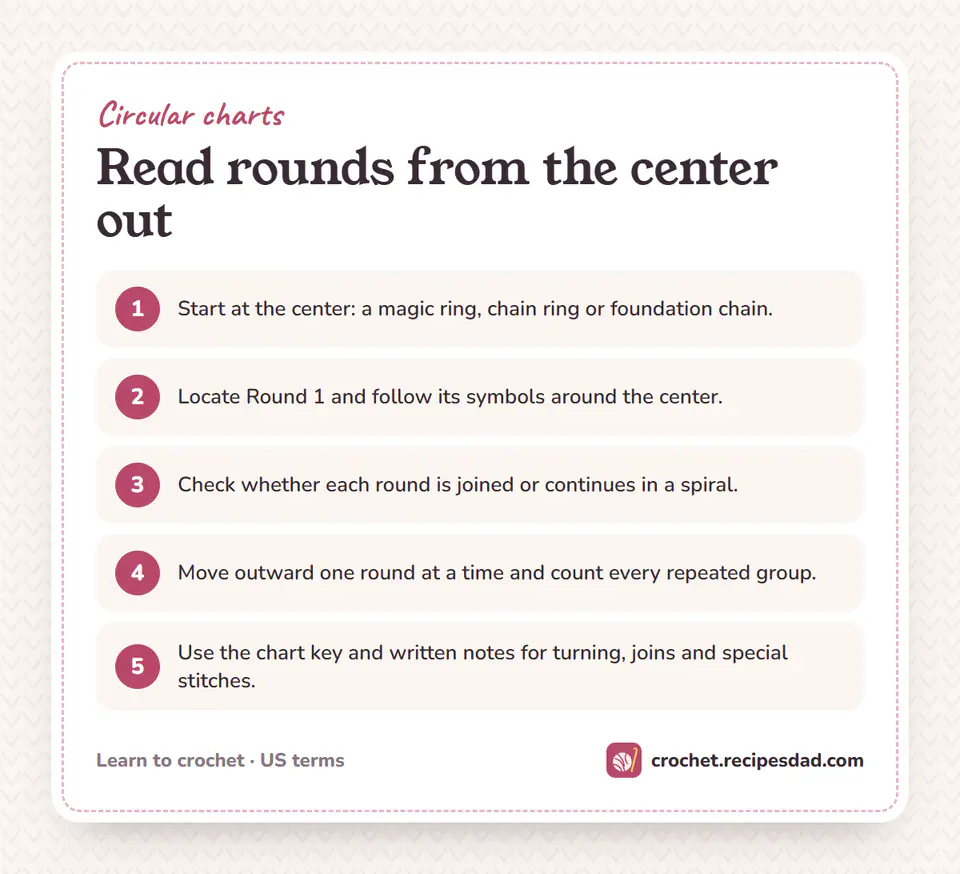
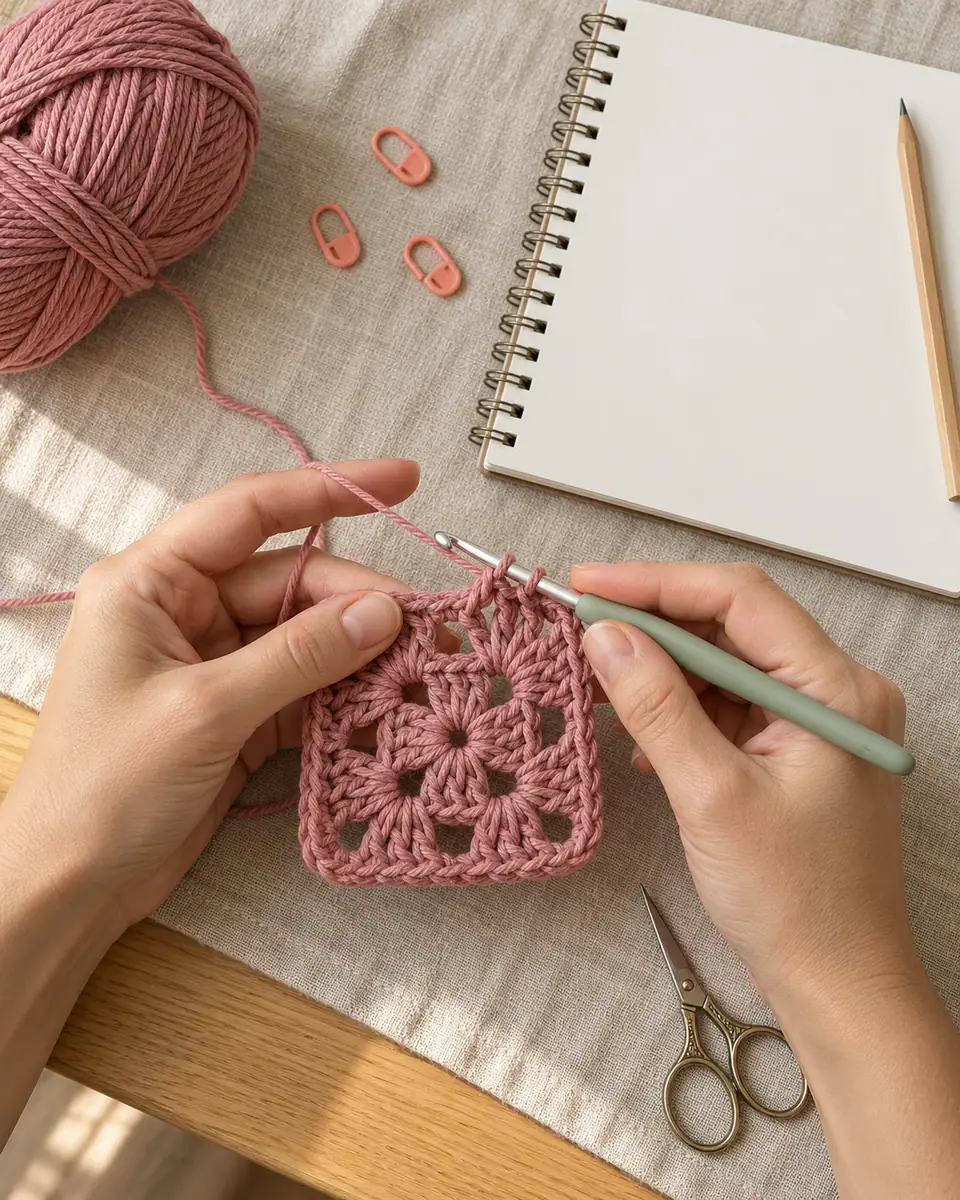
Count repeated groups rather than isolated marks. If one corner group is bracketed and the chart shows four corners, confirm that the group appears four times. A granny square chart often makes this structure easy to see: clusters form the sides, chain spaces separate groups and larger chain spaces mark the corners.
Color may separate rounds, but color is not a universal rule. Round numbers, arrows and joins are stronger evidence. When the drawing and written instructions appear to disagree, check the errata or contact the designer rather than guessing.
Filet Crochet Charts Use a Grid
A filet chart is a grid, not a symbol diagram. Each square represents a mesh block, usually open or filled, and one chart square can require several stitches. Read the designer's setup row and block definition before counting the grid. Do not treat one square as one stitch unless the pattern explicitly says so.
Rows still alternate direction on a turned piece. Mark off completed grid rows and compare the number of open and filled blocks at both edges. This catches a shifted design before it spreads across the next rows.
Mosaic Crochet Charts Need Method-Specific Rules
A mosaic crochet chart is also a grid, but its cells usually control color placement and whether a stitch is worked into the current row or a lower row. Overlay mosaic and inset mosaic use different techniques, so a generic grid is not enough. Read the pattern's chart legend, row rules and color sequence before starting.
Many mosaic charts show one color per row and use symbols or special marks for drop-down stitches. Others chart both right-side and wrong-side work. Follow the method stated by the designer instead of transferring rules from a different mosaic pattern.
Match a Chart to Written Instructions
Use the two formats as a cross-check. First locate the row or round number in both. Then match each written stitch group to a cluster of symbols. Confirm the repeat count and the total number of stitches before continuing.
- When the text says “dc in next 3 sts,” expect three dc symbols attached to three stitch tops.
- The line “3 dc in next st” should show three dc symbols sharing one base.
- The group “(dc, ch 2, dc) in next sp” should show two dc symbols with two chain ovals between them, all anchored in one space.
- After “rep around,” identify the repeated wedge or bracket and count how many copies complete the round.
Written instructions are better for exact wording and stitch counts. Charts are better for showing placement and how groups relate. Using both reduces the chance of working a correct stitch in the wrong location.
Common Crochet Chart Mistakes
- Skipping the chart key. Standard symbols help, but special definitions belong to the pattern.
- Starting at the visual top. Most flat charts begin at the lower edge, and round charts begin at the center.
- Reading every row in one direction. Turned rows normally alternate direction.
- Counting chains as stitches automatically. The notes decide whether a turning chain counts.
- Confusing a grid with a stitch-symbol chart. Filet and mosaic grids need their own block or color rules.
Frequently Asked Questions
How to read a crochet chart?
Start with the chart key, find the first row or center round, follow the printed direction and count each repeated group before moving on.
How to read crochet chart patterns in rows?
Begin at the bottom. Standard right-handed charts usually read Row 1 right to left, Row 2 left to right, then continue alternating upward.
How to read a filet crochet chart?
Treat each grid square as an open or filled mesh block defined by the pattern. One square usually represents a group of stitches, not one stitch.
How to read mosaic crochet chart instructions?
Use the method-specific legend first. The chart must tell you the color sequence and which marks represent stitches worked into lower rows.
Are crochet chart symbols the same in every pattern?
Many publishers use standard symbols, but not every symbol is universal. The key supplied with the pattern is always the controlling reference.
Do left-handed crocheters read charts backward?
They may mirror the usual direction, but the safest method is the one specified by the designer. Keep row numbers and stitch counts consistent.
Reference Source
The core stitch symbols in this guide follow the Craft Yarn Council crochet chart symbols. Source: Craft Yarn Council's www.YarnStandards.com.

Clara Parker
I’m Clara — a mom who is never without a hook, and the crochet half of the Recipes Dad family. I write cozy, practical patterns you can actually finish.
More about Clara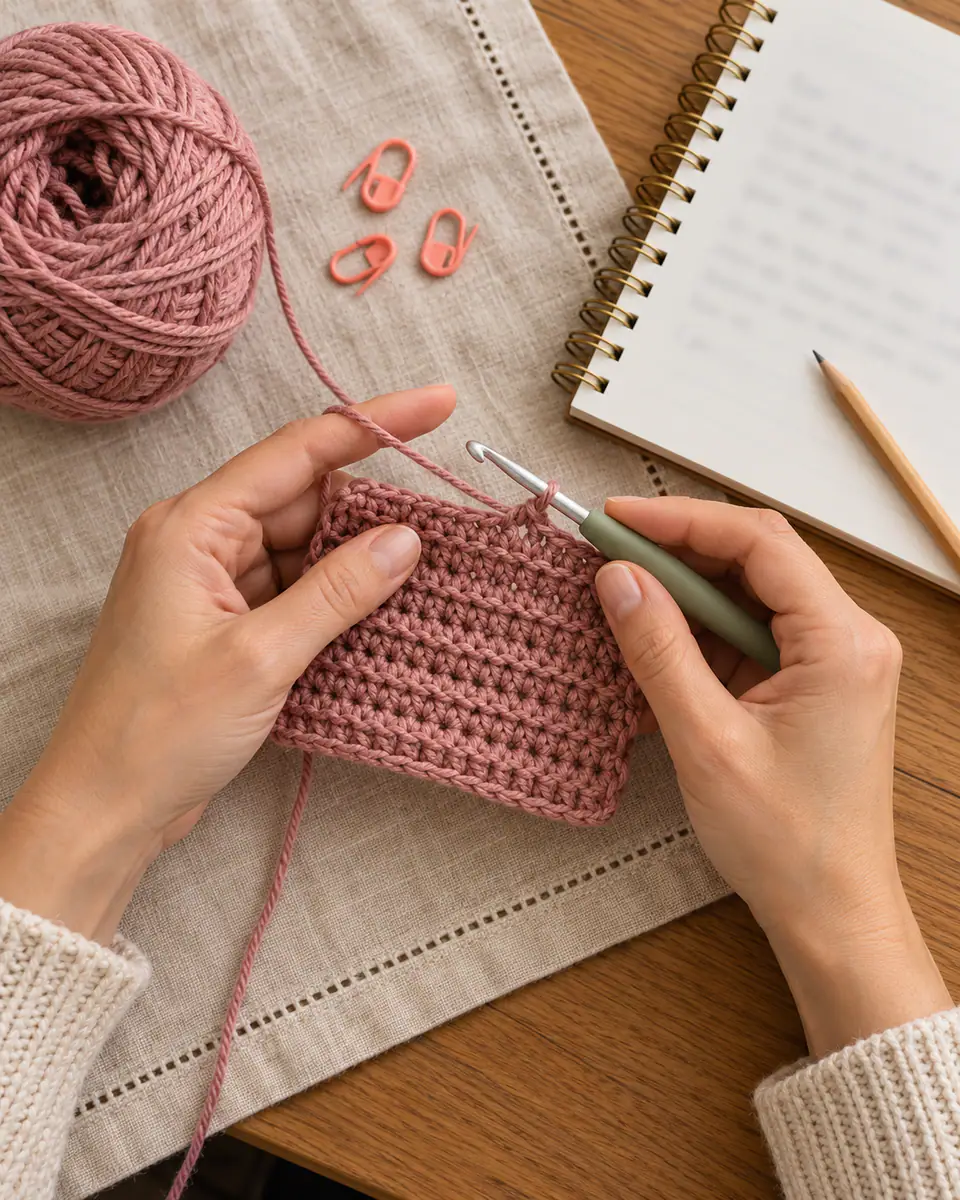
Maker notes
Made this pattern? Tell us about your yarn and colors, or ask a question about a row — Clara reads every note.