
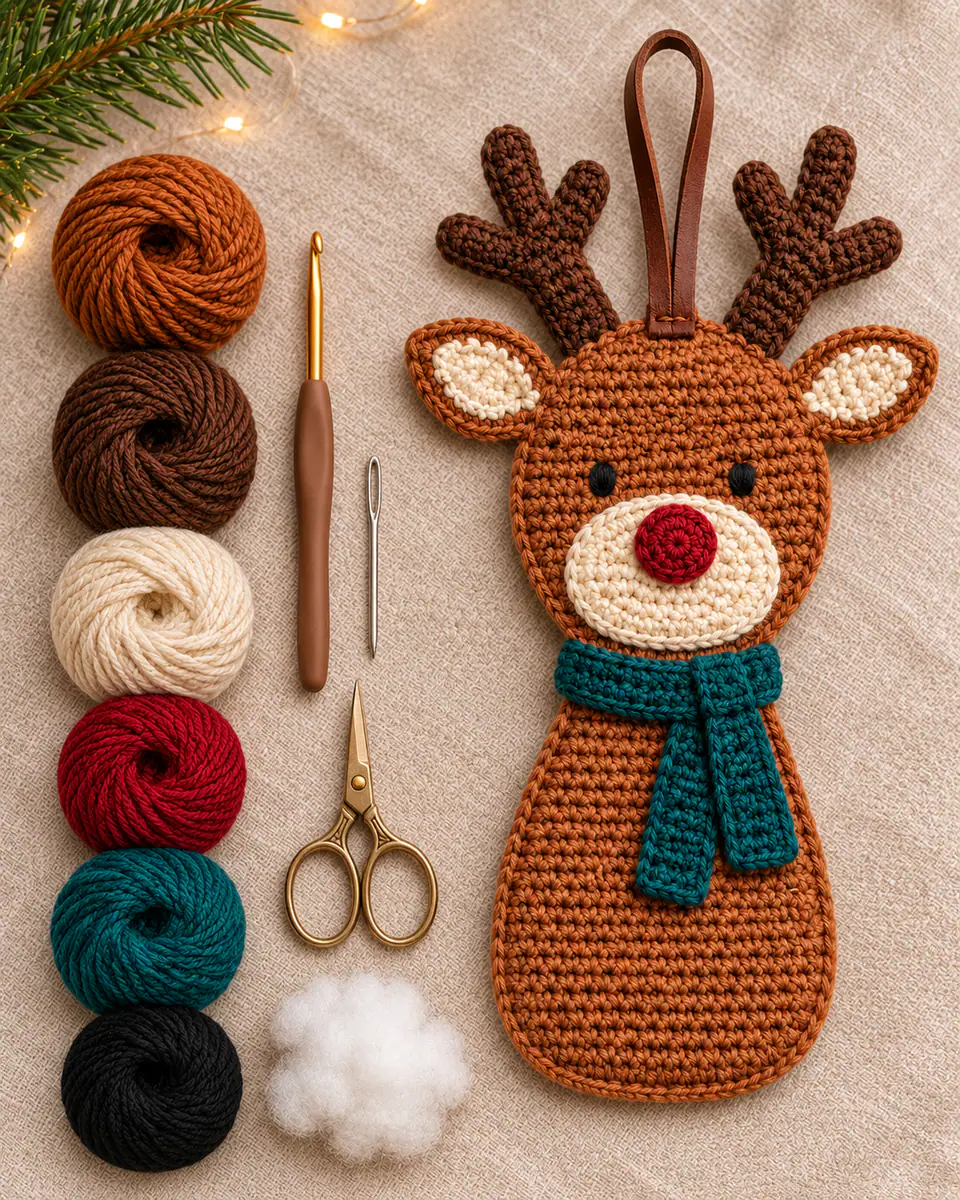
This crochet reindeer ornament uses two flat body panels instead of a round amigurumi shape. A separate circular head overlaps the long body, giving the neck enough strength for a scarf and keeping the ornament balanced under its hanging loop.
Why This Crochet Reindeer Ornament Hangs Straight
The long body is made from two matching ovals. Its top edge sits behind the 36-stitch head, distributing the weight across several stitches. Antlers and ears are sewn through both head panels before the final join, so the attachment tails stay hidden.
Materials You'll Need
- About 95 yd (87 m) DK cotton (body and ears), 100% cotton, in Rust brown.
- About 22 yd (20 m) DK cotton (antlers), 100% cotton, in Dark cocoa.
- About 20 yd (18 m) DK cotton (muzzle and ear inserts), 100% cotton, in Warm ivory.
- About 28 yd (26 m) DK cotton (nose and scarf), 100% cotton, in Cranberry and Deep teal.
- About 1 yd (1 m) DK cotton (eyes), 100% cotton, in Black.
- 3.5 mm (US E-4) crochet hook.
- Polyester stuffing, about 0.5 oz (14 g).
- 6 in (15 cm) leather cord or crocheted yarn loop.
- Yarn needle.
- Scissors.
- Stitch markers.
Firm cotton shows the antler branches better than a fuzzy yarn. Use leather cord only on a decorative ornament; choose a crocheted loop for a child-safe version.
Gauge and Finished Measurements
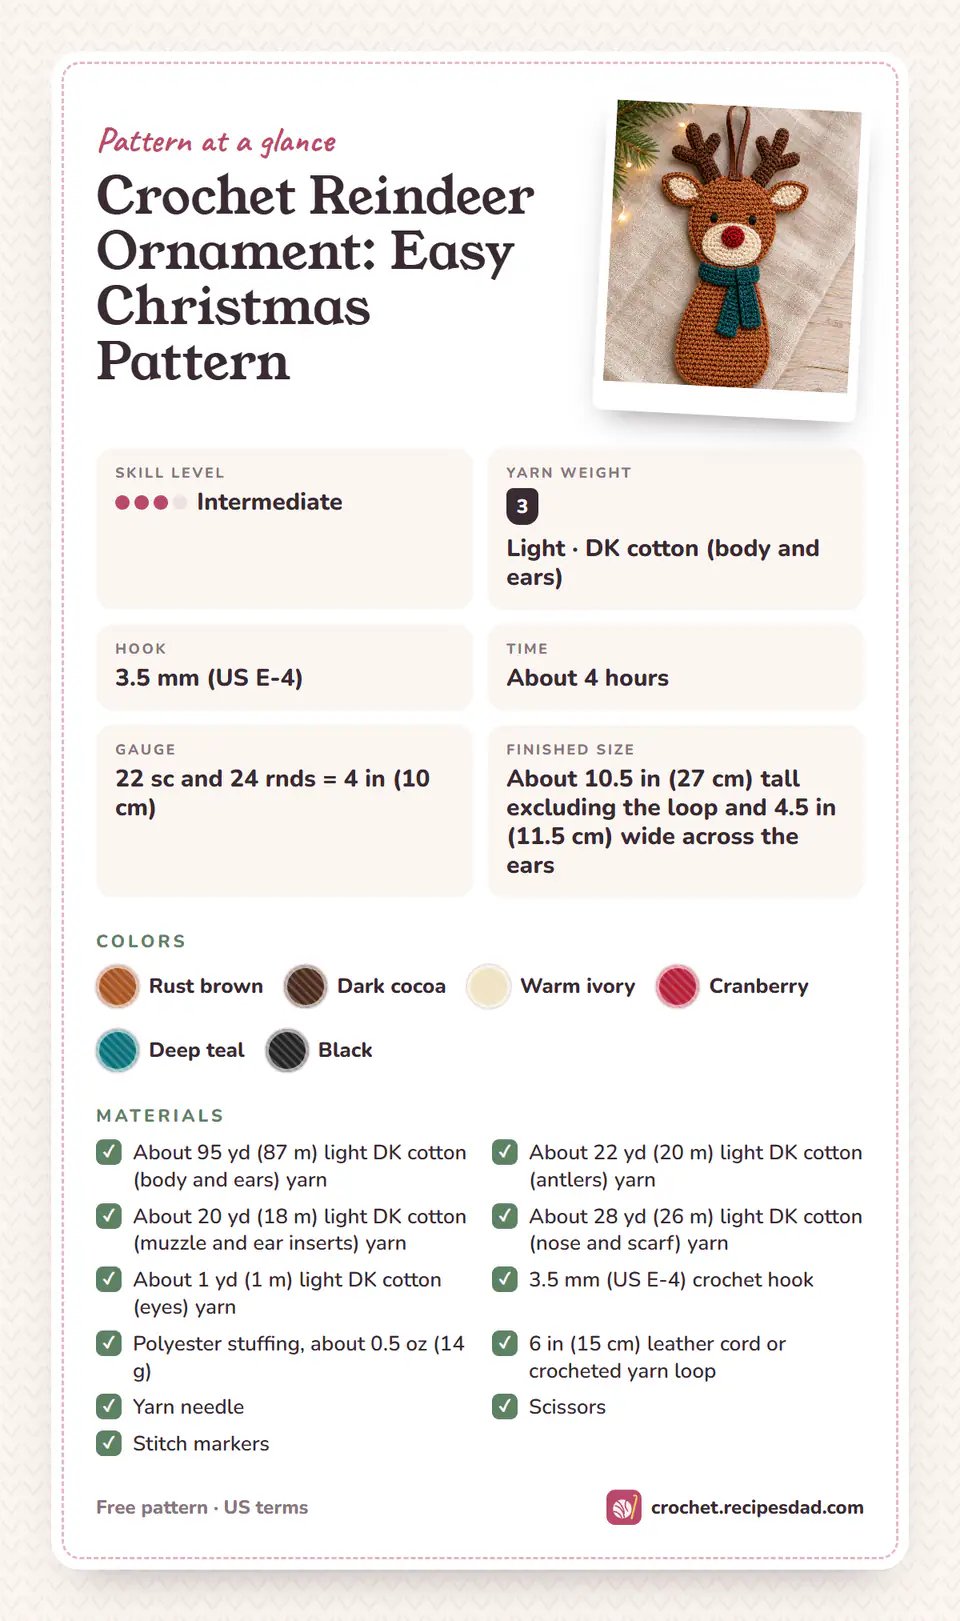
- Skill level: Intermediate.
- Gauge: 22 sc and 24 rnds = 4 in (10 cm).
- Finished size: About 10.5 in (27 cm) tall excluding the loop and 4.5 in (11.5 cm) wide across the ears.
- Working time: About 4 hours.
Match the two body panels by round count rather than pulling one to fit. A small gauge difference becomes obvious along the long side seam.
Abbreviations and Special Stitches
Instructions use US crochet terms. Count at the end of every numbered row or round before moving on.
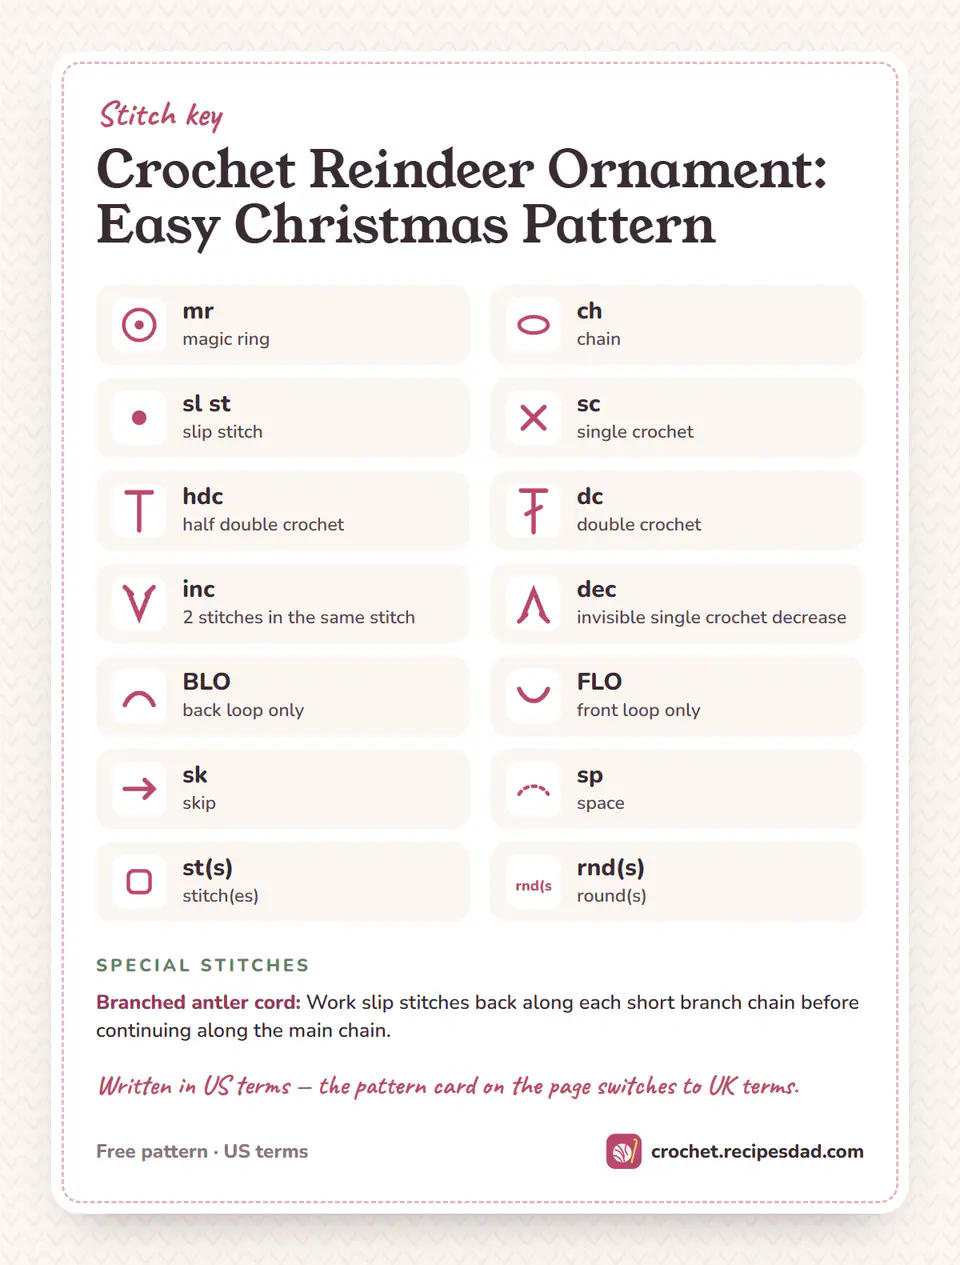
- mr: magic ring.
- ch: chain.
- sl st: slip stitch.
- sc: single crochet.
- hdc: half double crochet.
- dc: double crochet.
- inc: 2 stitches in the same stitch.
- dec: invisible single crochet decrease.
- BLO: back loop only.
- FLO: front loop only.
- sk: skip.
- sp: space.
- st(s): stitch(es).
- rnd(s): round(s).
Branched antler cord: Work slip stitches back along each short branch chain before continuing along the main chain.
Pattern Notes
- Work oval panels on both sides of the foundation chain.
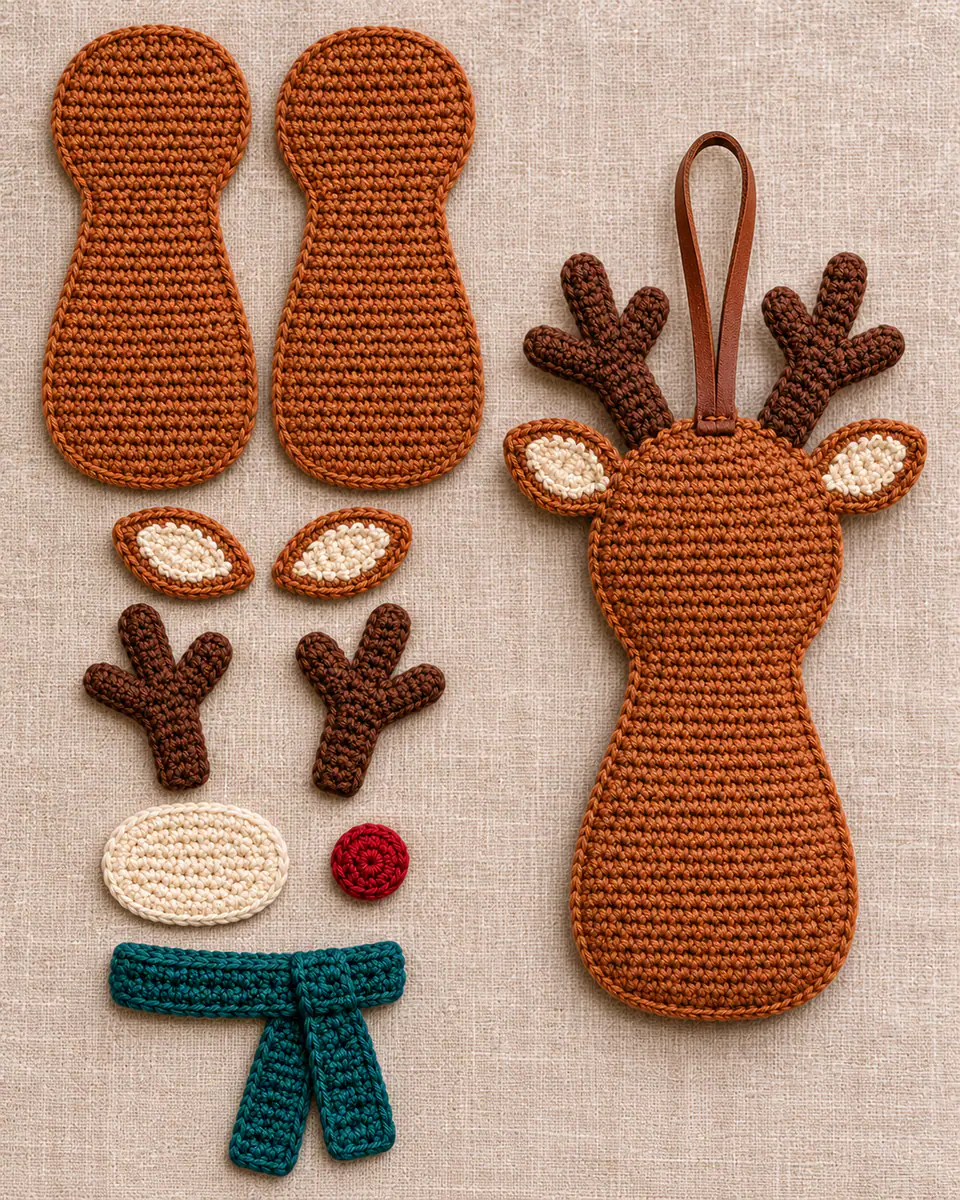
- Make 2 body panels, 2 head panels, 2 ears and 2 antlers.
- Use only a thin layer of stuffing.
Lay all paired parts side by side before assembly. The ears should mirror each other, but both antlers are made from the same branch instructions.
How to Crochet a Reindeer Ornament
Each oval starts on both sides of a foundation chain. Three stitches in the end chains turn the corners without leaving holes. The head is a simple six-round circle. Light stuffing between the paired panels adds depth while keeping the ornament slim.
The question how to crochet a reindeer often comes down to placement. Set the muzzle across Head Rounds 3 to 5, keep six clear stitches between the eyes and angle the antlers outward before sewing.
Assembly Order for the Face and Body
- Sew the body panels together and add a thin layer of stuffing before closing.
- Overlap the head over the upper 1.5 in (4 cm) of the body and sew through both layers.
- Attach both ears and both antlers symmetrically behind the head.
- Sew on the muzzle and nose, then embroider two vertical eyes.
- Wrap the teal scarf around the neck, tack the knot in place and secure the hanging loop.
Check the ornament by holding the loop before weaving in the final tails. Move the loop one stitch if the body tilts.
Matching the Antlers and Ears
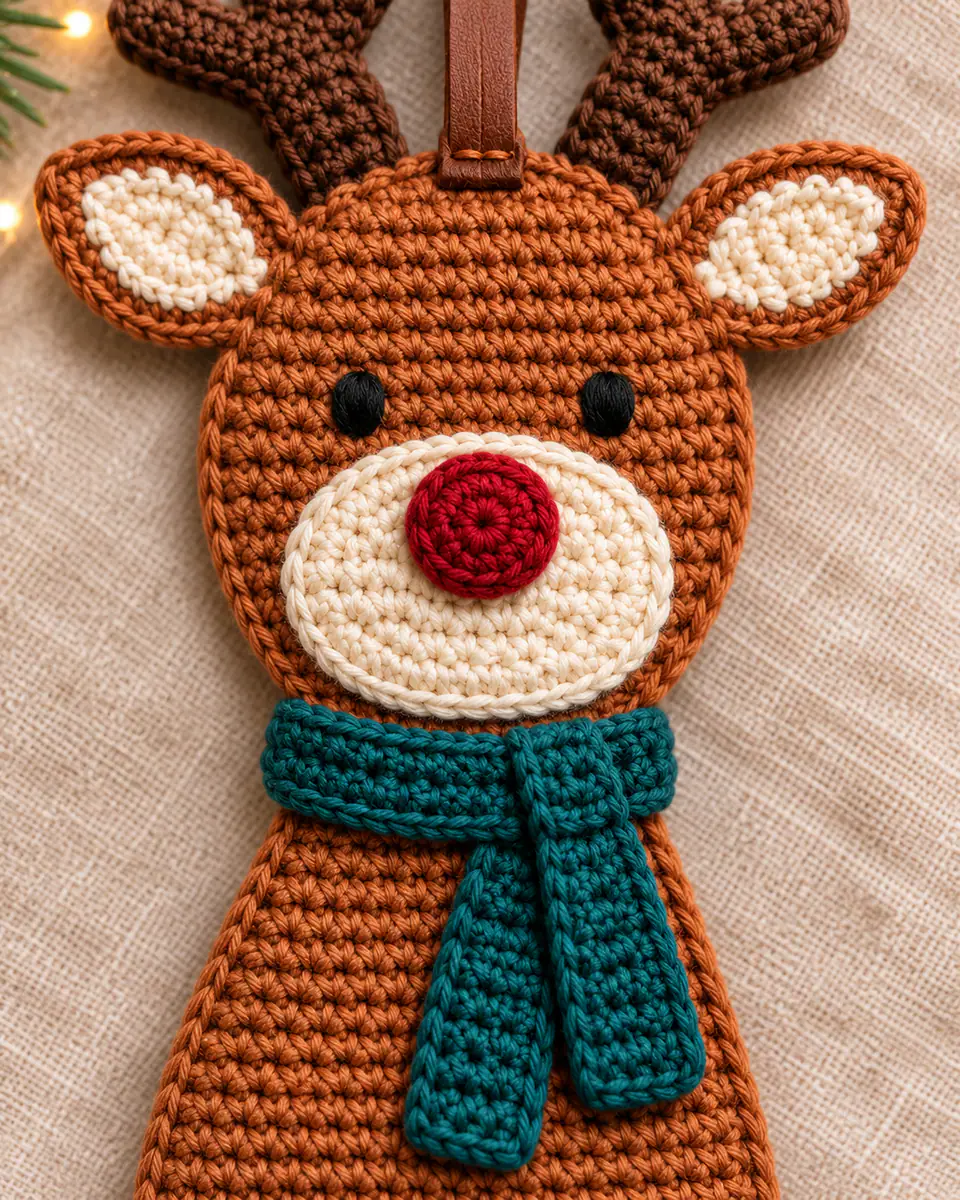
- Count every branch chain before slip stitching back.
- Block antlers flat under a towel rather than stretching them.
- Pin ears at the same angle from the eye line.
- Keep stuffing away from the narrow neck overlap.
Crochet Reindeer Color Changes
Rust and teal give the reindeer a woodland look. A pale fawn body with burgundy scarf is quieter, while charcoal antlers remain easy to see on either version. This construction also works as a crochet reindeer gift tag when left unstuffed.
Care and Storage
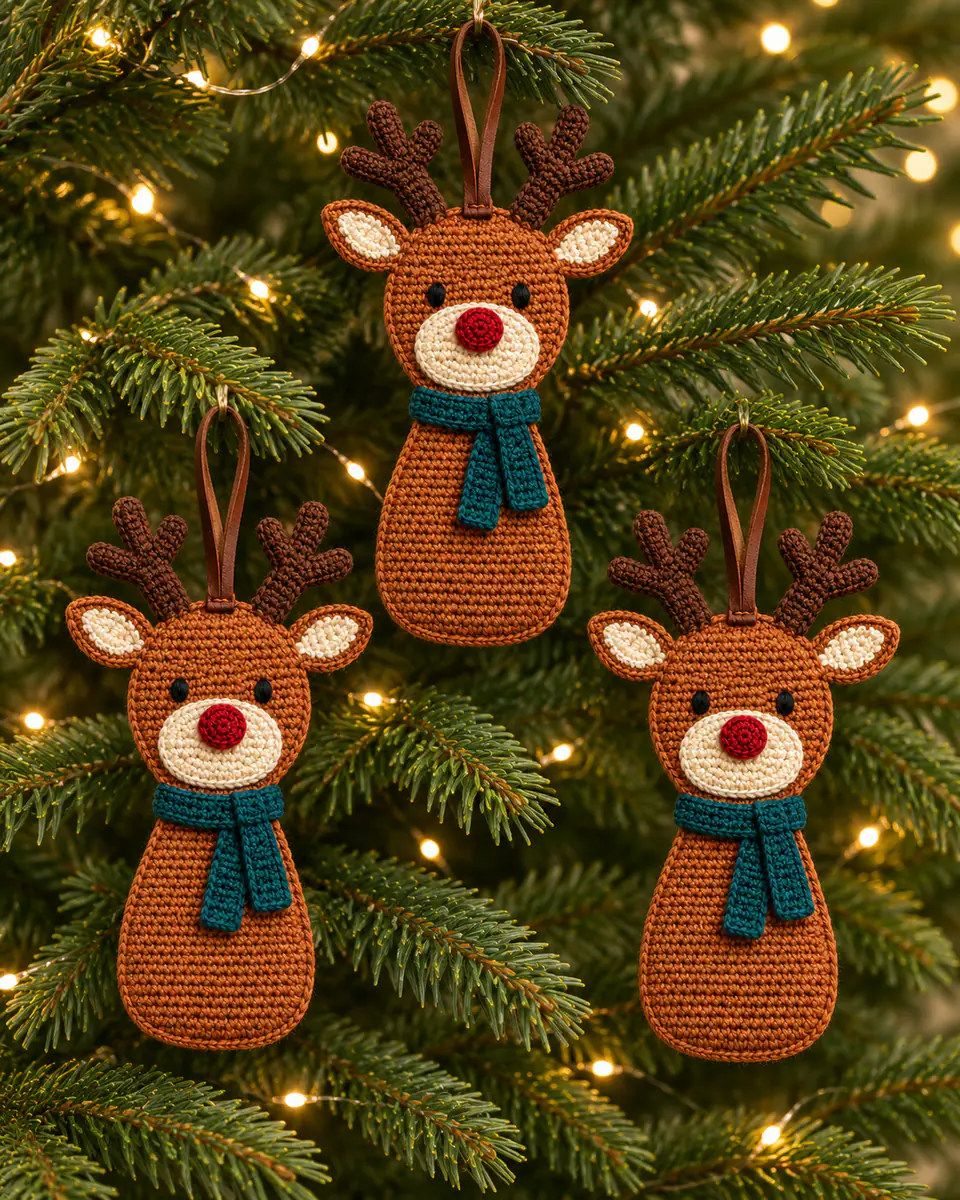
Spot clean and dry flat. Store between two pieces of tissue so the antlers are not bent under heavier ornaments.
Frequently Asked Questions
How to crochet a reindeer that hangs straight?
Center the hanging loop between the antlers and sew it through both head panels. Test the balance before weaving in the tails.
Why do the antlers twist?
Their slip stitches are too tight or the branch chains differ. Block both antlers flat before sewing them on.
Can I make the ornament without stuffing?
Yes. Join the panels without filling for a gift-tag version, but keep the head overlap reinforced.
Are the eyes embroidered?
Yes. Two short black yarn stitches avoid loose plastic parts and keep the face flat.
How many branches does each antler have?
Each dark-cocoa antler has three branches. Make two identical antlers and mirror them during placement.
Crochet Reindeer Ornament: Easy Christmas Pattern
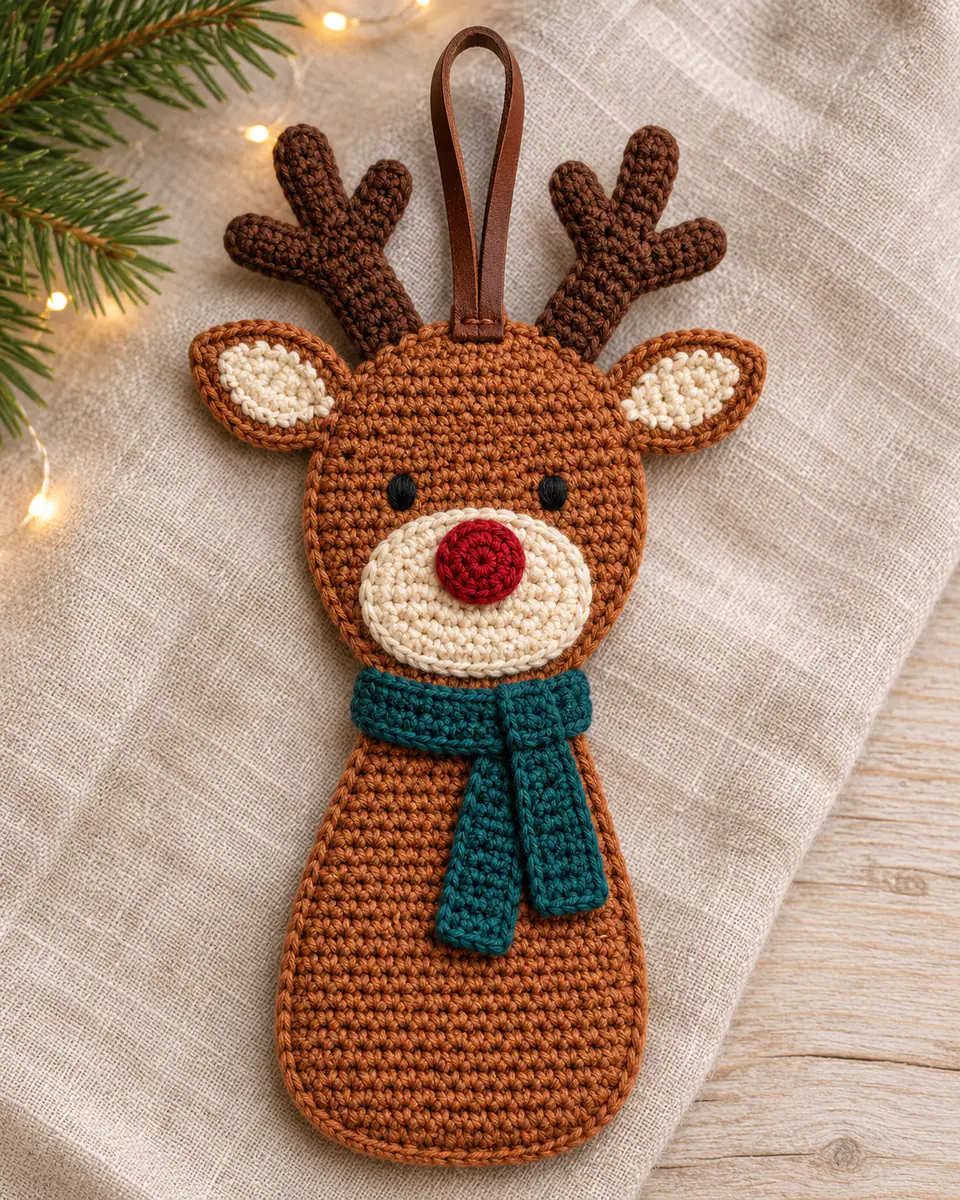
Make a flat padded reindeer ornament with two three-branch antlers, an oval muzzle, red nose and teal scarf. Every part and assembly point is counted.
Pattern by Clara Parker · Crochet Mom
Materials
Abbreviations (US)
| mr | magic ring |
|---|---|
| ch | chain |
| sl st | slip stitch |
| sc | single crochet |
| hdc | half double crochet |
| dc | double crochet |
| inc | 2 stitches in the same stitch |
| dec | invisible single crochet decrease |
| BLO | back loop only |
| FLO | front loop only |
| sk | skip |
| sp | space |
| st(s) | stitch(es) |
| rnd(s) | round(s) |
Special stitches
- Branched antler cord
- Work slip stitches back along each short branch chain before continuing along the main chain.
Pattern notes
- Work oval panels on both sides of the foundation chain.
- Make 2 body panels, 2 head panels, 2 ears and 2 antlers.
- Use only a thin layer of stuffing.
The pattern
Tap a row to tick it off — your place is saved on this device.
Body panel (make 2, rust)
0/3Work around both sides of the chain.
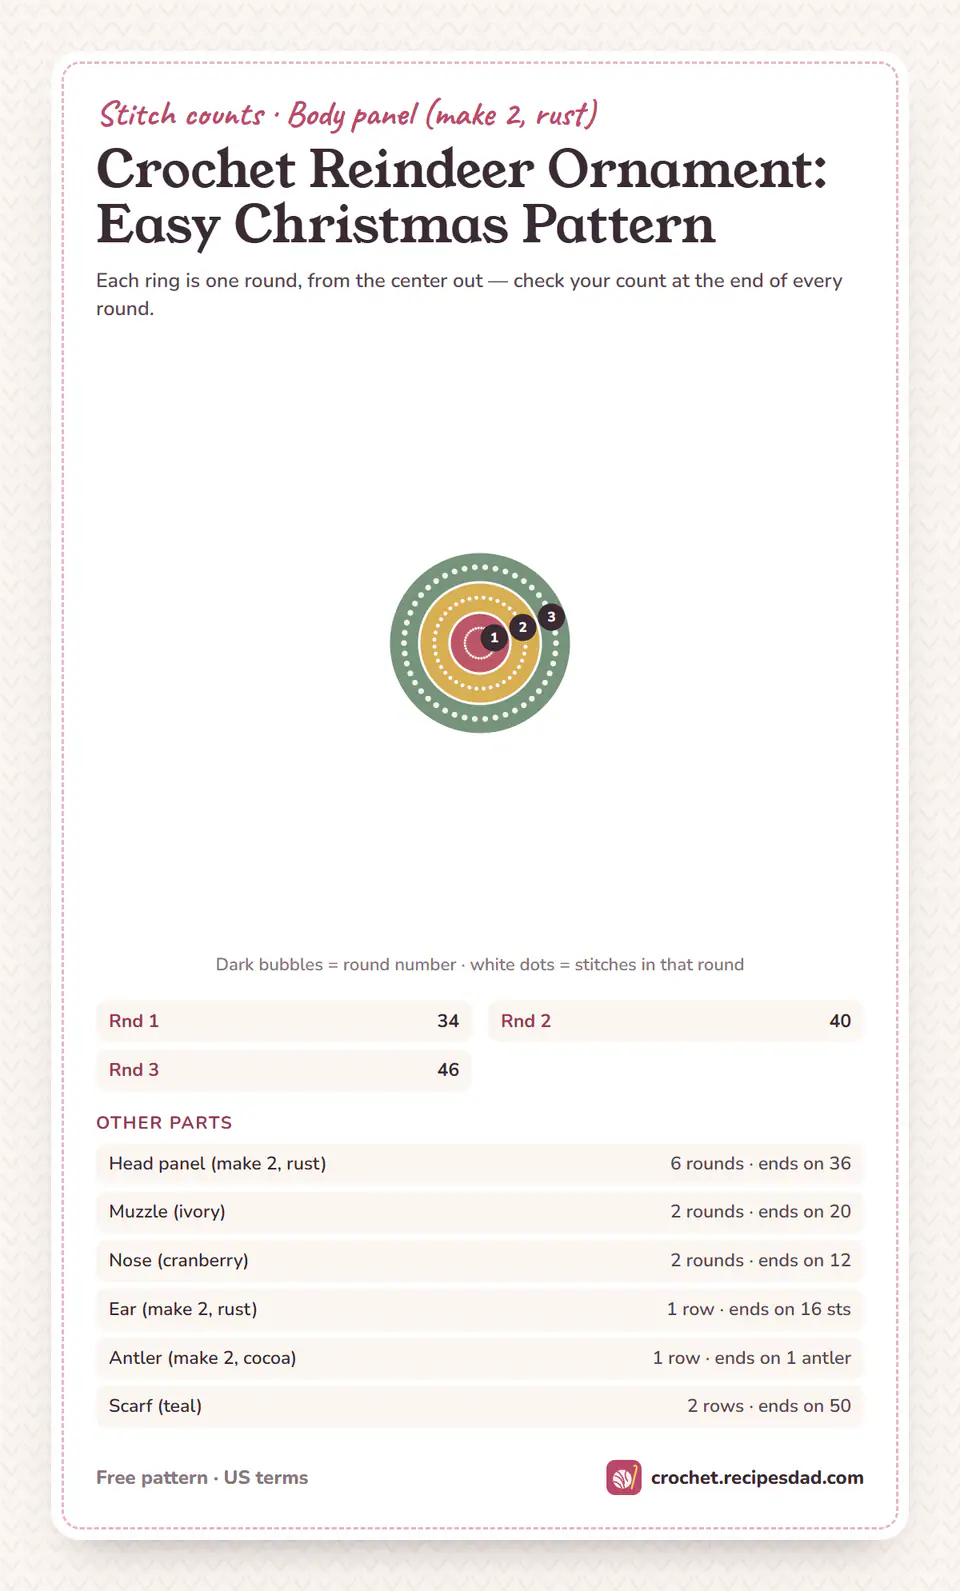
- Rnd 1 Ch 17, sc in the second ch and next 14 ch, 3 sc in the last ch, sc in the opposite side of the next 14 ch and 2 sc in the final ch. (34)
- Rnd 2 Inc, sc in the next 14 sts, inc in each of the next 3 sts, sc in the next 14 sts, inc in each of the final 2 sts. (40)
- Rnd 3 (Sc in the next st, inc), sc in the next 14 sts, (sc in the next st, inc) 3 times, sc in the next 14 sts, (sc in the next st, inc) 2 times. Fasten off. (46)
Head panel (make 2, rust)
0/6Work joined rounds.
- Rnd 1 Make a mr and work 6 sc in the ring. (6)
- Rnd 2 Inc in each st around. (12)
- Rnd 3 (Sc in the next st, inc) 6 times. (18)
- Rnd 4 (Sc in the next 2 sts, inc) 6 times. (24)
- Rnd 5 (Sc in the next 3 sts, inc) 6 times. (30)
- Rnd 6 (Sc in the next 4 sts, inc) 6 times. Fasten off. (36)
Muzzle (ivory)
0/2Work around the chain.
- Rnd 1 Ch 7, sc in the second ch and next 4 ch, 3 sc in the last ch, sc in the opposite side of the next 4 ch and 2 sc in the final ch. (14)
- Rnd 2 Inc, sc in the next 4 sts, inc in each of the next 3 sts, sc in the next 4 sts, inc in each of the final 2 sts. Fasten off. (20)
Nose (cranberry)
0/2Leave a sewing tail.
- Rnd 1 Make a mr and work 6 sc in the ring. (6)
- Rnd 2 Inc in each st around. Fasten off. (12)
Ear (make 2, rust)
0/1Sew ivory yarn inside after blocking.
- Row 1 Ch 7, sl st in the second ch, sc in the next ch, hdc in the next 2 ch, dc in the next ch and 5 dc in the last ch. Work along the opposite side: dc in the next ch, hdc in the next 2 ch, sc in the next ch and sl st in the last ch. (16 sts)
Antler (make 2, cocoa)
0/1Use the Branched antler cord method.
- Row 1 Ch 14. Sl st in the second ch and next 3 ch, ch 5 and sl st back along 4 ch, sl st in the next 3 main ch, ch 4 and sl st back along 3 ch, sl st in the next 3 main ch, ch 4 and sl st back along 3 ch, then sl st along the remaining main ch. Fasten off. (1 antler, 3 branches)
Scarf (teal)
0/2Turn after Row 1.
- Row 1 Ch 51, hdc in the second ch and each ch across. Turn. (50)
- Row 2 Ch 1, hdc in each st across. Fasten off. (50)
Finishing
- Join and lightly stuff the body and head panels.
- Sew the head over the body.
- Attach ears, antlers, muzzle and nose.
- Embroider eyes, add scarf and secure the loop.
Made one? Leave a note below and tell us about your colours — or save the pattern to Pinterest for later. You are welcome to sell items you make from this pattern; please don’t republish the pattern itself.
© 2026 Crochet Mom · crochet.recipesdad.com/crochet-reindeer-ornament-pattern/

Clara Parker
I’m Clara — a mom who is never without a hook, and the crochet half of the Recipes Dad family. I write cozy, practical patterns you can actually finish.
More about Clara
Maker notes
Made this pattern? Tell us about your yarn and colors, or ask a question about a row — Clara reads every note.